▶️ You can find a tutorial on how to use Jenkins with Agilitest on our Youtube channel.
Agilitest lets you automatically install and configure a local Jenkins server, or even connect to a remote Jenkins. It's simple, fast and extremely practical.
You can schedule recurring executions to ensure that all your tested functions are OK or not.
Example:
You can schedule jobs to run every morning at 6 a.m., or every Thursday, or even continuously over a defined period if you wish, etc...
These jobs, which will automatically launch your tests on your Web, Desktop, API or Mobile solutions (emulated or physical terminals), and will be displayed on a highly graphic screen. This is how you gain confidence in the quality of your solutions on a daily basis.
Jenkins with Agilitest
Agilitest can communicate with Jenkins in order to create new Jobs.
Jenkins is the component that allows you to schedule executions while providing access to campaign reports and tracking the success and failure rate for a given job. This is even though ATS is compatible with TestNg and can be deployed on any CI/CD system.
Agilitest offers a reduced panel of the basic options offered by Jenkins. When you want to automate your test execution, you can use Jenkins directly from Agilitest.
Open Jenkins with Agilitest
- Jenkins embedded
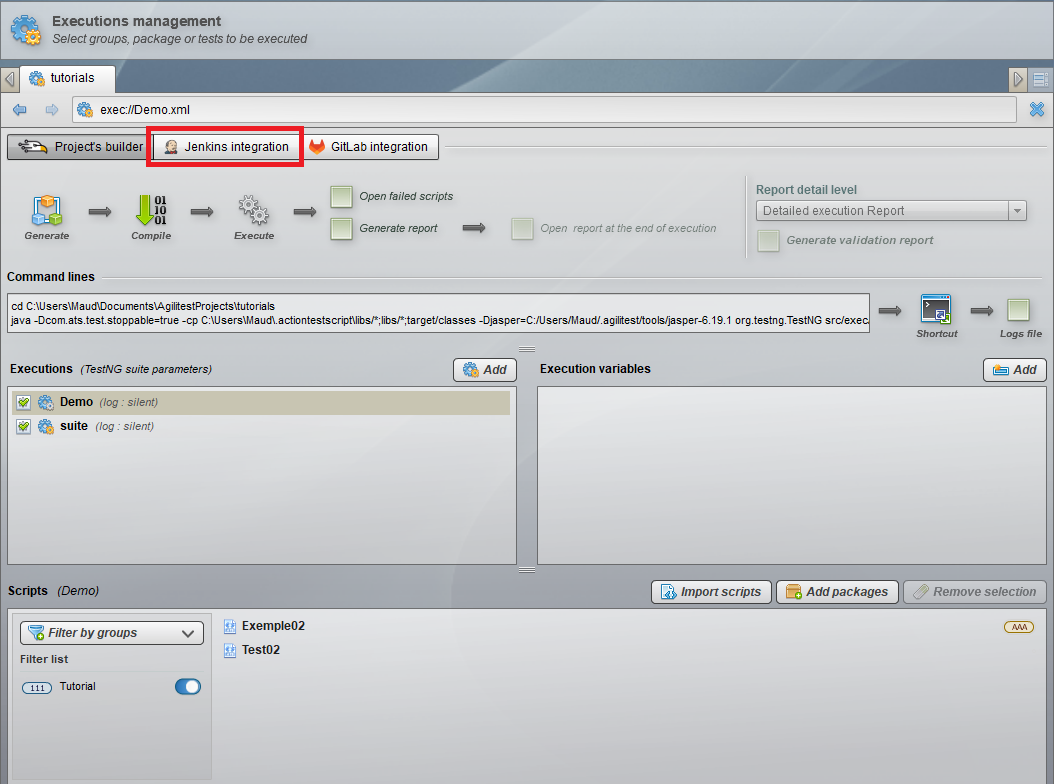
To open Jenkins in Agilitest, click on the “Executions management” button
.png)
Then, click on the “Jenkins integration” button to have access to the Jenkins interface in Agilitest.
If Jenkins is not installed :
Click on the Jenkins icon or connect Jenkins from the tools menu

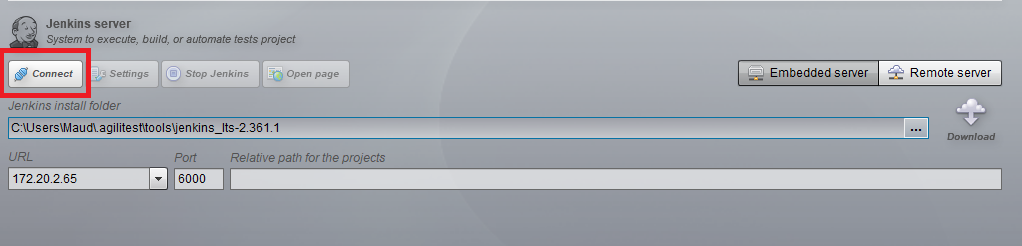
In the tools, click on “embedded server” in the Jenkins menu,

Enter an available port on your computer, and click on the “Download” button

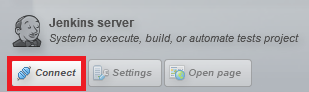
Once Jenkins is installed, click on “Connect” to connect Jenkins to Agilitest.
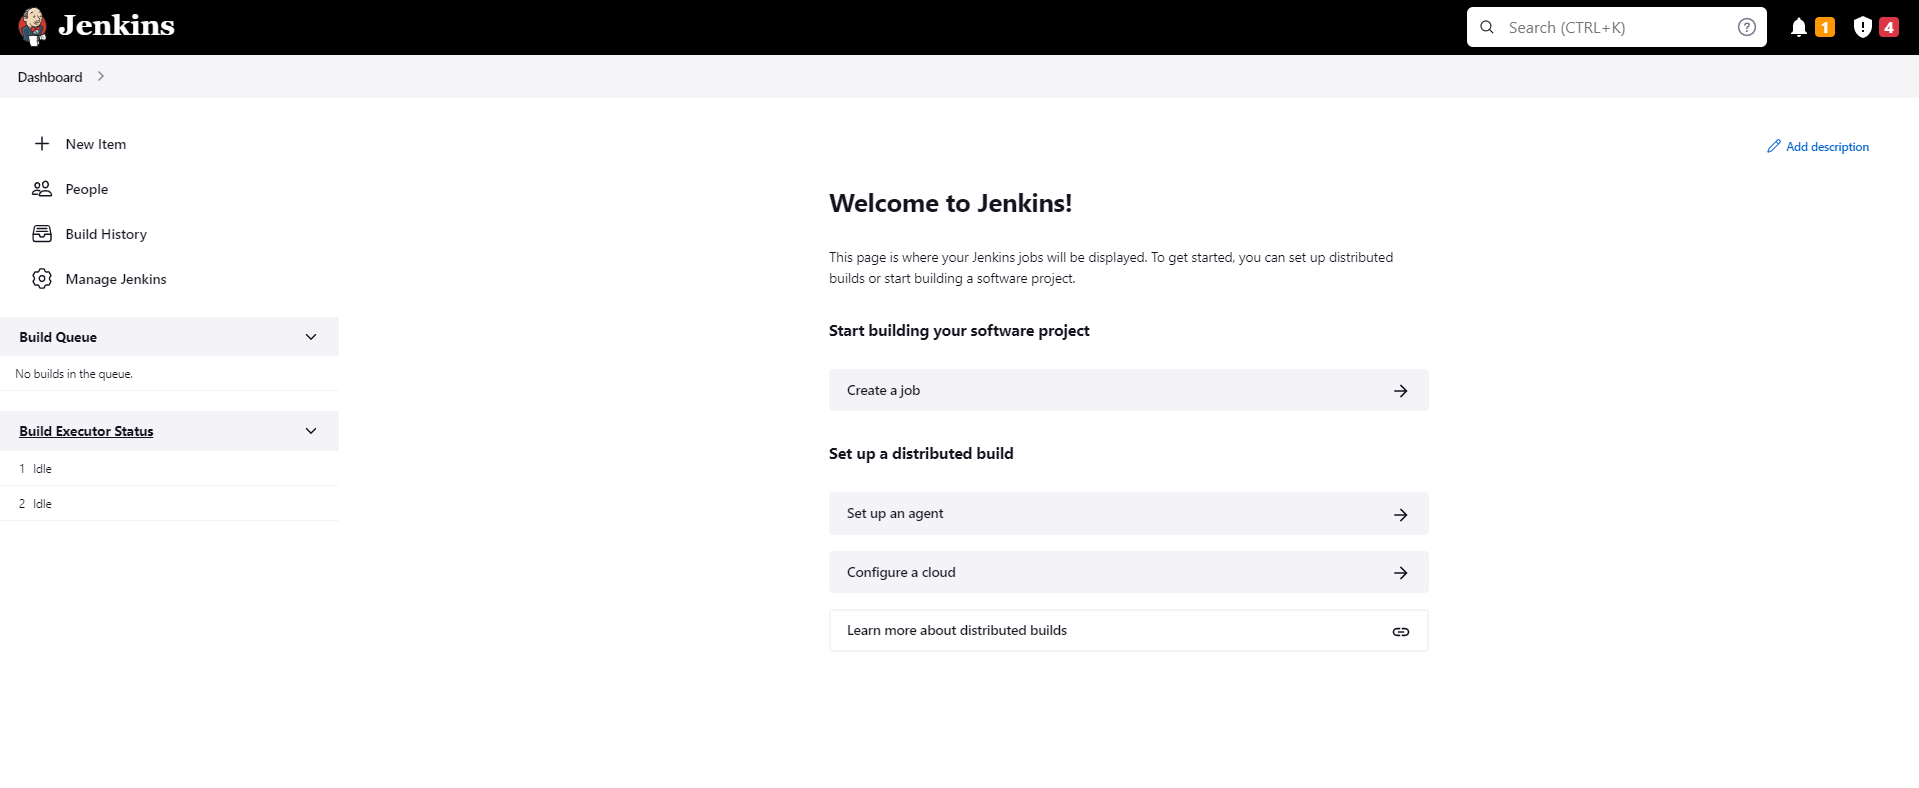
Connecting an embedded server will open Jenkins on your computer, this operation can take a few seconds.
This will open a web page composed of the projects opened by Agilitest.
Click on the “Stop Jenkins” button to close Jenkins and stop its process
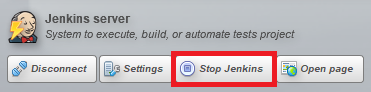
If you simply disconnect, the Jenkins process won’t stop.
The embedded server is useful for creating jobs and executing them on the fly. However,iIt is less secure than a remote server, as it does not require a password to connect.
2. Jenkins remote
Connect Agilitest to Jenkins with the remote server to execute your tests actually in production.
In remote mode, there is no downloading but you will need to have a Login and a Token.
To connect to that, click on the “remote server”

In the “URL” part, enter the URL from your open Jenkins page.
.png)
The folder path corresponds to the folder in which the Agilitest projects will be stocked.
Enter the name of your choice for the folder
.png)
Then, you will have to enter a Login and a Token.
To obtain them you can find them in your Jenkins page Jenkins Dashboard > Users:
.png)
Enter the Login corresponding to the one in the Jenkins page.
.png)
To obtain the API Token, click on the User in Jenkins and then on “Configure”.
In the “API Token” part, click on “Add a Token” > “Generate”
.png)
Copy the generated Token (it is only generated once) and paste it in the Agilitest editor
.png)
Finally, click on “Connect”
The remote server has a little less options than the embedded server once it is connected. You will have the possibility to connect or disconnect from Jenkins.
Create a Job
Once Jenkins is connected, it can be used to execute Jobs.
To create a new Job, click on the “New Job” button next to the Jenkins icon.
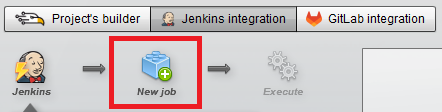
Enter the name of your Job, add a description and configure the parameters you want.
.png)
You have mutlitple options:
- Tools
Use the Git repository: To use a Git repository when a project is already run by Git
Maven Job : To have Maven intervene during the executions
- Launch
You can also configure how your Job launch
By checking the "Automatic" box, you can decide when your jobs should be launched. Choose one or more days of the week, set the the frequency and set the working hours on a 24-hour format.
Click on the "Continue" button to execute the test several times.
- Suites list
The list of suites that will be executed in your Jenkins Job can be found in the "Suite list" insert.
Click on the "Add" button and set the suites you wish to execute.
.png)
- Reports
You can choose to generate the Agilitest reports at the end of your executions.
You can also choose to send an email in order to follow the process of your Jobs.
Parameter a Job
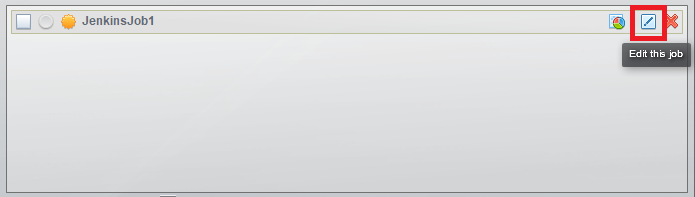
Once the Job has been created, you can set it up again by clicking on the "pen" icon in the Jenkins interface in Agilitest.
Select a Job and click on “Execute”.

At the end of the execution, Jenkins will validate the test or not.
You can execute your test again directly from the Web page, or from your Agilitest editor, as described above.
You can also configure your Job directly through Jenkins from the "Configure" tab, where you'll have access to all the parameters.
.png)
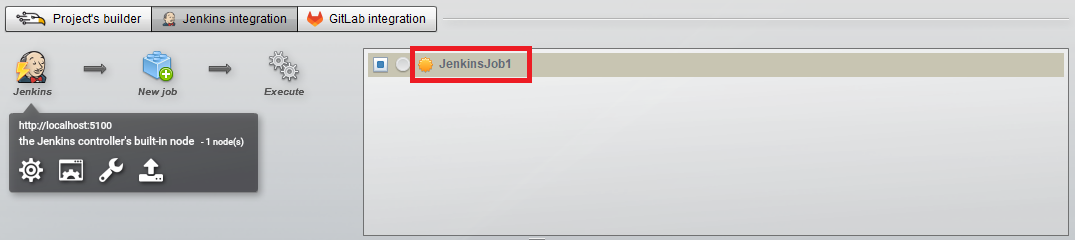
After a first execution, the Job will display a weather symbol representing the status of the Job.
.png)
This weather symbol will also be represented in Agilitest.
Below the Jenkins icon are access buttons to:
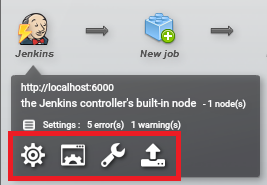
- Open the Jenkins configuration
- Open the project’s page
- Open the Agilitest tools’ window
- Synchronise your information from Jenkins
Advanced configuration
If test execution needs are massive, then the Jenkins server will not execute any tests at all, and will delegate them to the execution servers via Jenkins built-in/agent communication.
Jenkins allows the use of various communication protocols such as Java Web Start (JNLP) and SSH.
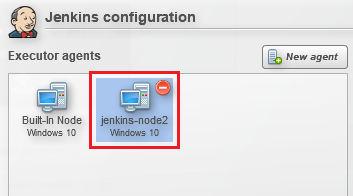
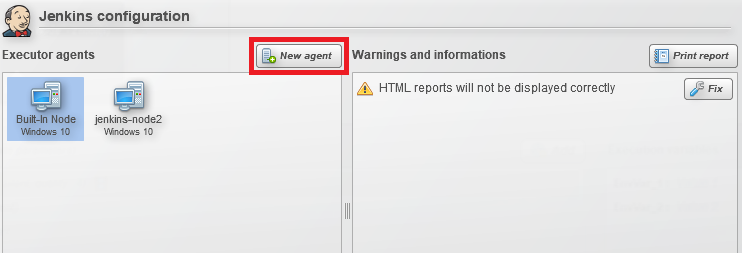
A list of all connected or declared agents can be found in the Jenkins server configuration.
.png)
You can also find them in the Jenkins page Dashboard > Nodes
.png)
It is important to note that a controller can also be an agent.
When an agent is selected, any errors that can be corrected will appear in the "Warnings and information" box.
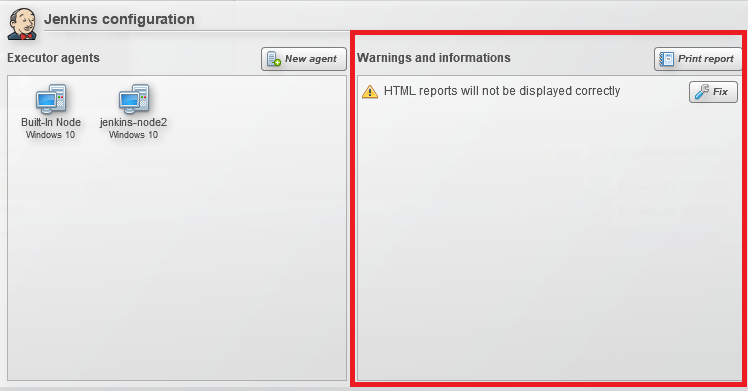
Your tests need an agent to be executed, and this agent must have a declared label. In order for the ATS test execution to work, you need the ats-executor label.
If your agent doesn't have a label:
Click on the "Fix" button.

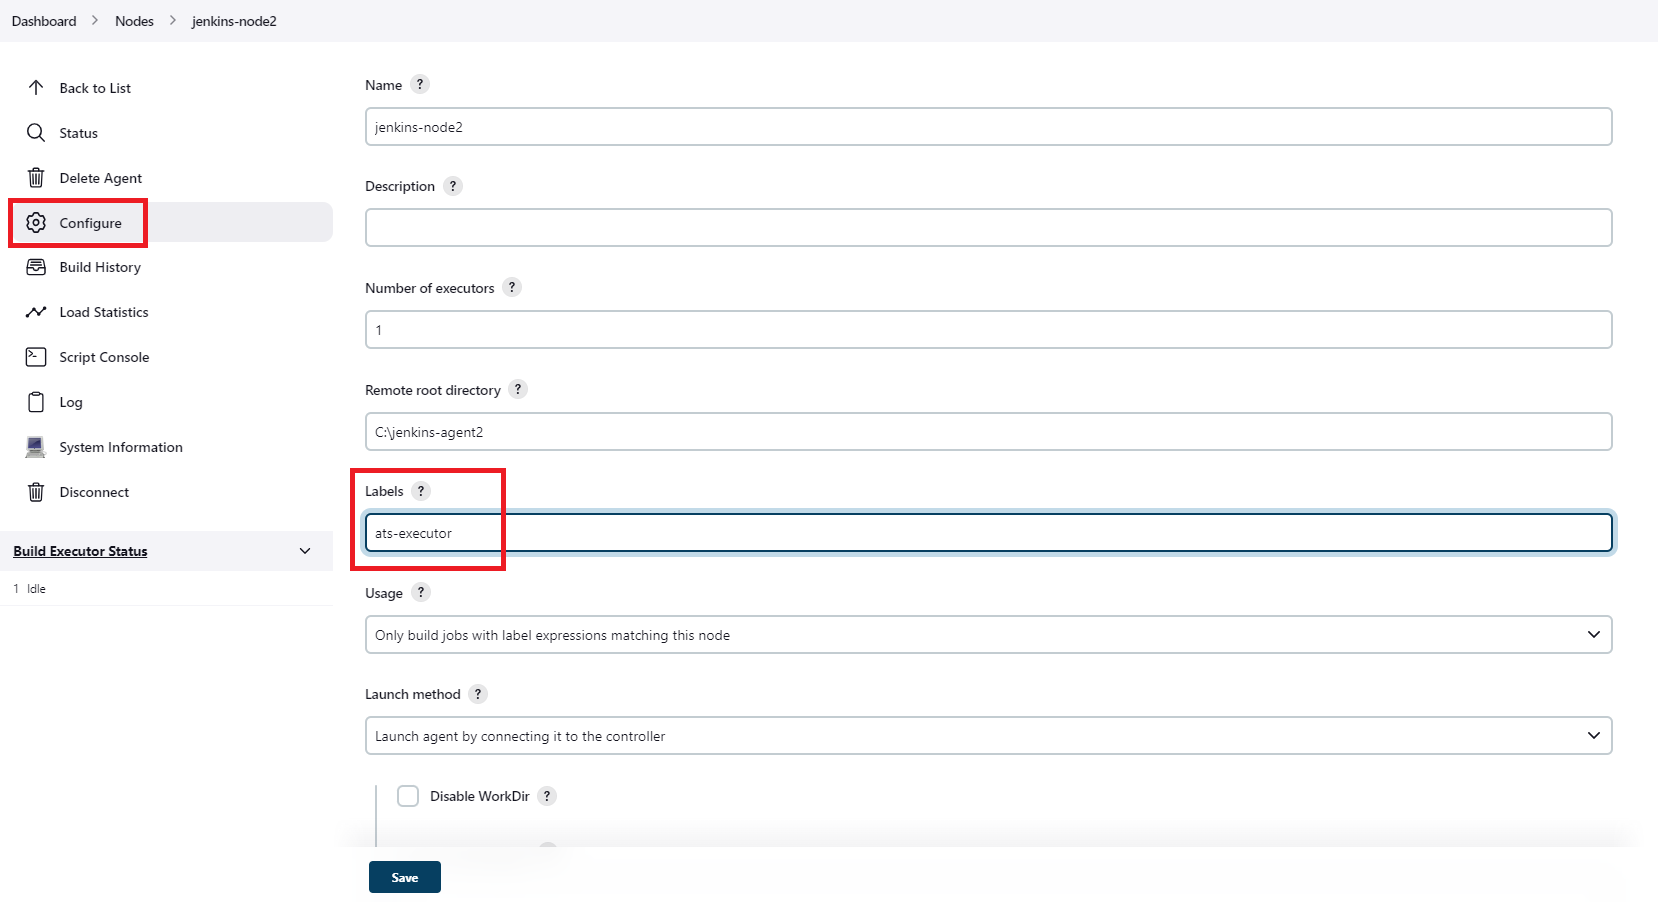
Once redirected to the Jenkins page, click on the relevant agent in Dashboard > Nodes

Then, click on “Configure” and enter “ats.executor” in the Labels
It is also possible to create a new agent.
To do that, click on “New agent”
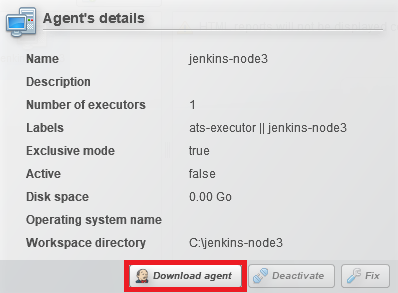
Enter a name and a new folder location
.png)
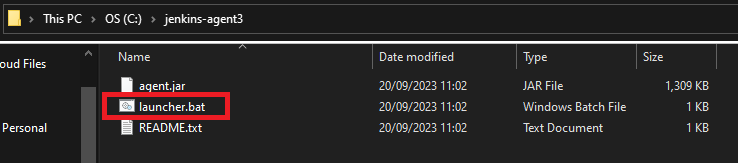
Then click on “Download agent” and extract the files
Click on “launcher.bat” to connect.
🔸 Warning
For a launcher to be executed, you must have Java declared in your Windows system.
You also have the option of enabling or disabling an agent.
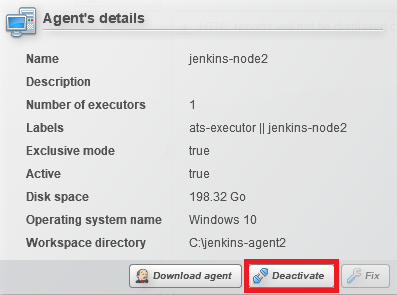
When tests are launched, they will be executed on the available agents. If you don't want an agent to be used, you can deactivate it.