Quick start
Whether you want to try Agilitest or start using your license, this documentation will guide you through your first steps: downloading, installing and launching Agilitest, then creating your first tests.
1. Download and install Agilitest
Agilitest is installed on a Windows computer.
Before getting started, we recommend reviewing the technical requirements and following the detailed installation tutorial available here:
https://fr.agilitest.com/documentation/agilitest-installation
This page explains step by step how to download Agilitest, run the installer, and complete the installation on your computer.
Once the installation is complete, you can launch Agilitest from the shortcut created on your computer or from the Windows menu.
Warning
Make sure you install Agilitest in an environment where you have the necessary permissions. Insufficient permissions may cause issues during installation, updates, or script creation.
2. Launch Agilitest
The ChangeLog window will appear at the opening of Agilitest when it is your first time opening Agilitest or when modifications have been made since the last time you have opened the software.
.png)
The ChangeLog is there to inform you about the last current Agilitest version and about the modifications that have been made on the software (sometimes with a short explicative video to better understand).
For your first opening of Agilitest, the terms and conditions of use will be presented to you.
Read them and click on the “Accept” button.
.png)
Once this is done, the first ATS components updates will start automatically.
.png)
An update is made about every week, notably to support the browsers and webdrivers evolutions.
Agilitest works with the JDK (Java Development Kit). Java will be used during the whole compilation and execution phase of automated projects. By default you will need a JDK in your environment.
To parameter youor JDK you can do it from the settings menu at the bottom left of the side bar in Agilitest.
It is possible to link to an existing JDK on your computer or you can directly download it from Agilitest as indicated by clicking on the "Download" button. This will download the open JDK which is a selfported version of the JDK.
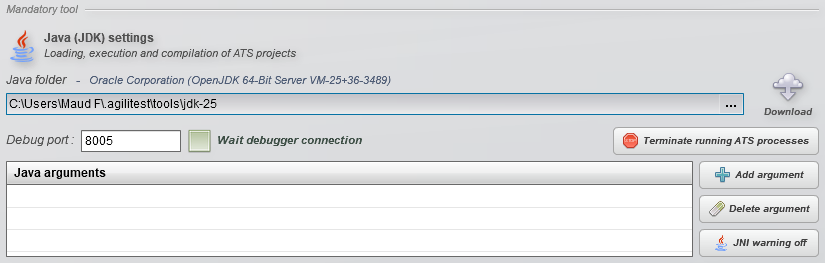
The two prerequisites to use ATS are the ATS package and the JDK which will make the editor functional.
You need at least a version 11 of the JDK. Agilitest will download the latest version.
💡 Tip
If you have UFT installed with a JDK in the environment variables, then you can make Agilitest cohabit with this existing Open JDK.
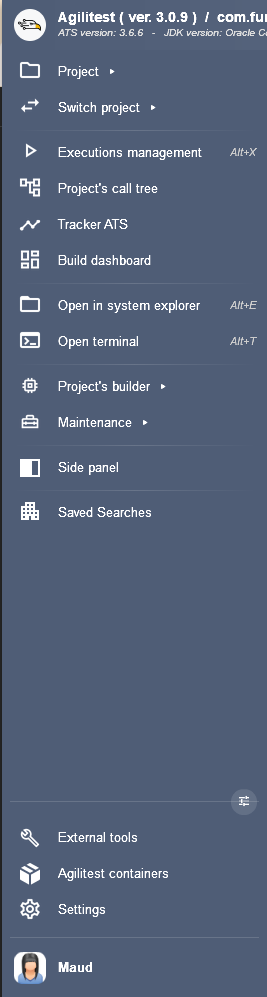
Display the Agilitest editor interface art the top left of your editor.
In this interface you can find various information:
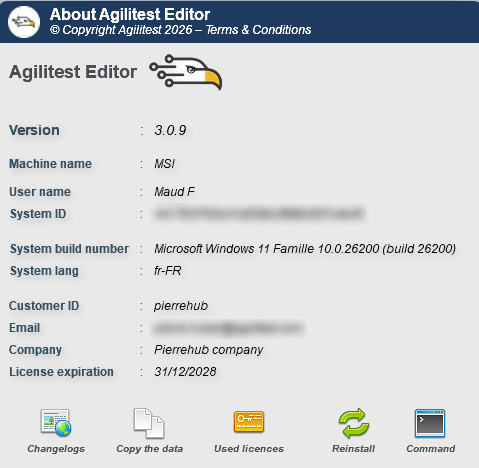
- All the information regarding your machine connected to Agilitest as well as your licence
- Changelogs menu: to display all the previous changelogs
- "Copy the date" button
- Used Licneces: to access your licence page with your ID
- Reinstall button
- Command: to open a terminal
You can also have access to various links from the "help" menu, at the top right of the editor.

These links complement the use of Agilitest.
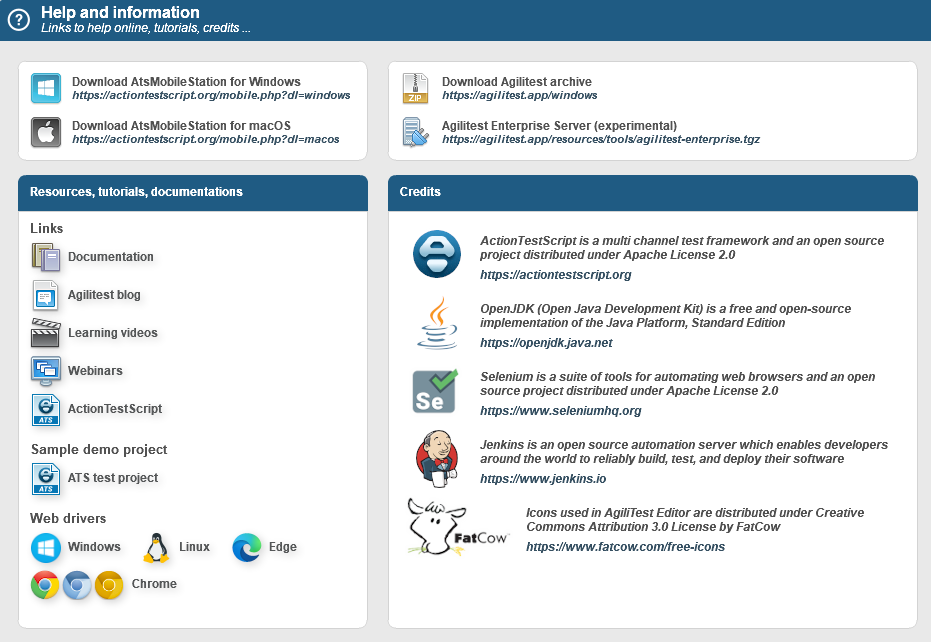
You will find the link to download Agilitest. Links to download Mobile Station on Windows or MacOs and a link to download the ATSV player.
As well as are various resources with links to Agilitest documentation, website, tutorials, web drivers and a list of integrations you can use with Agilitest.
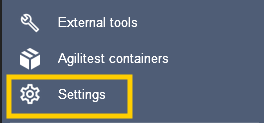
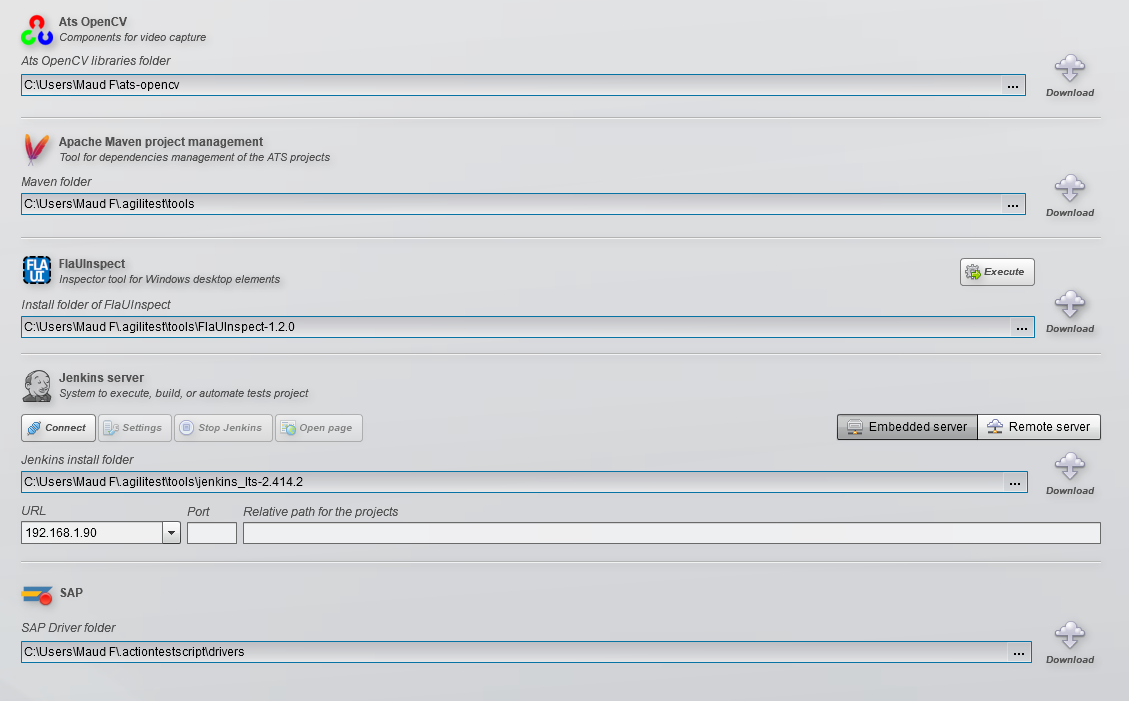
In the external tools menu, at the bottom of the sidebar, you will find additional tools that can enhance the use of Agilitest.

By default, Agilitest will display an error icon if they are not downloaded. It is recommended to download all of them during the installation to have them accessible.
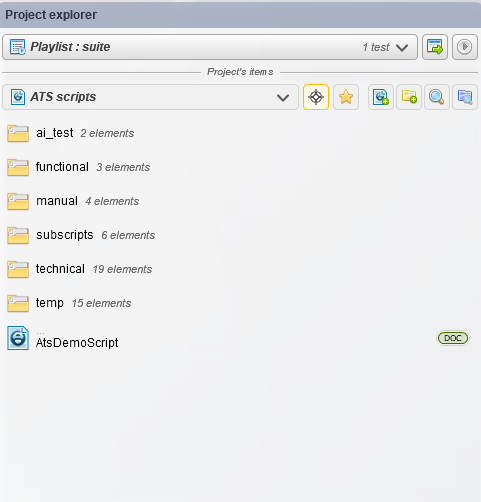
The side bar to the left of the editor has multiple menus to create, organize and maintain your scripts.
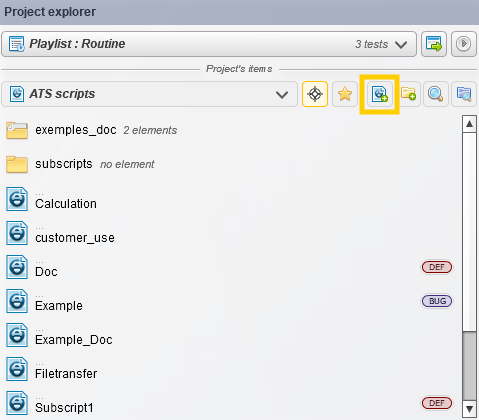
The project explorer is where the different scripts and their components are placed.
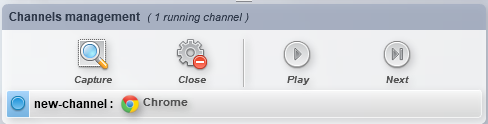
The channel management part is used to manage the execution of the scripts.
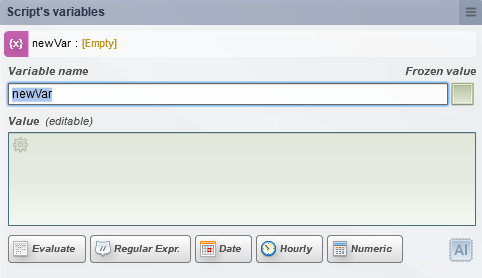
Then the part dedicated to the variables below.
A documentation is at your disposal for more details concerning the Agilitest interface.
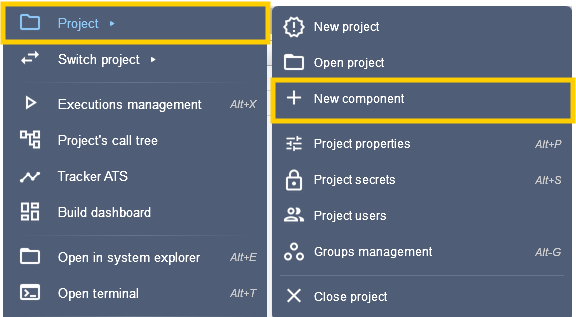
3. Create a new project
▶️ You can find a tutorial on how to create a new project on our Youtube channel.
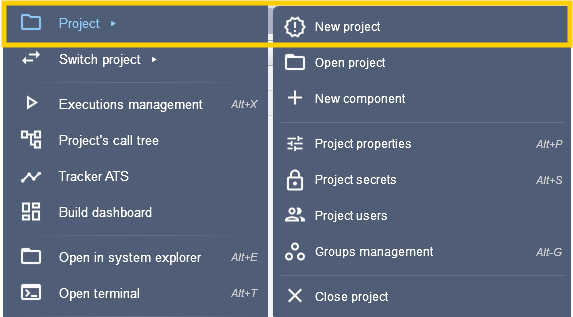
To create a new project, click on the action “New project” in the side bar.
You can rename your project and change its domain if you want to divide your project into different domains.
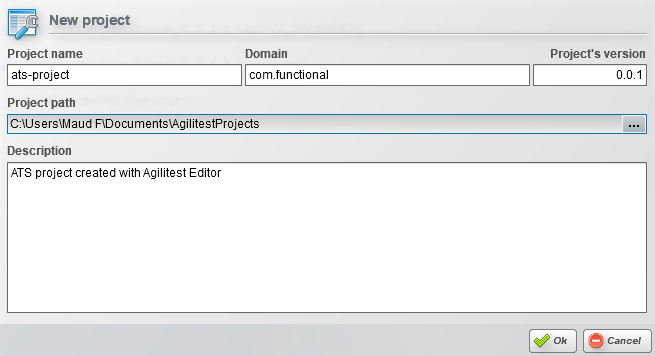
When you create a new project, it will create a project directory "AgilitestProjects" where all your projects will be automatically placed.
The path to your project in Windows Explorer will be indicated. You can also add a description to your project.
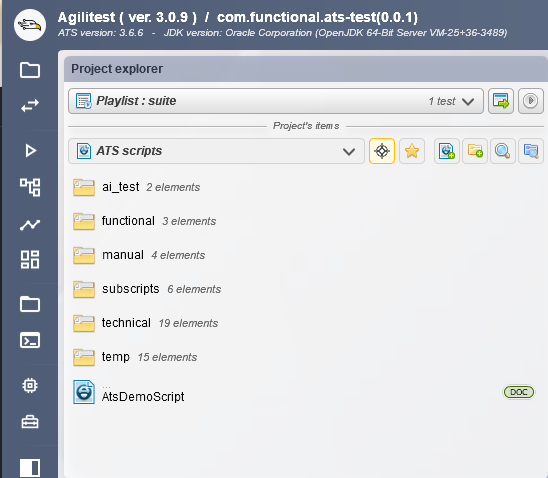
Once the project is created, it will be placed in the project tree in the project explorer, with the name of the current project at the top left of the editor.
Note: Agilitest scripts are ActionTestScript files (.ats). You can create sub-directories to better categorize your projects. You can also create sub-scripts, which have no differentiation with scripts, both are ats files, only one is called by the other.
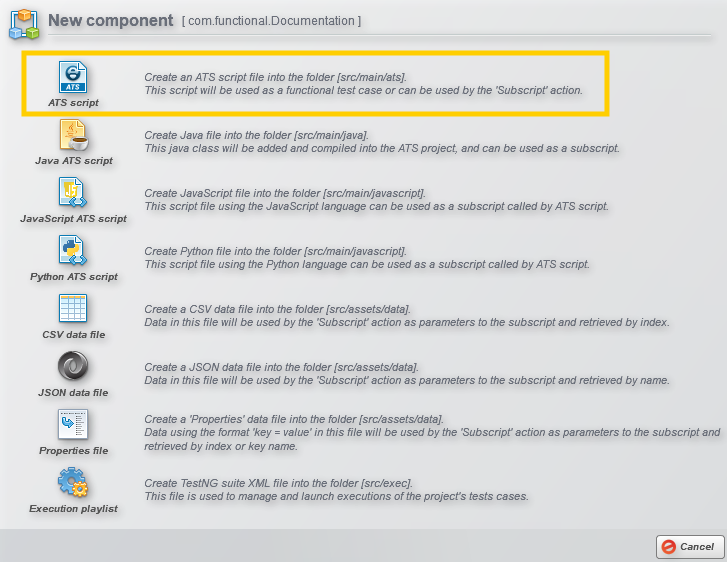
There are two ways to create a script:
- By clicking on the “Create an ATS script” button inthe project explorer.
2. By clicking on the “New component” button in the side bar.
And by selecting “Create ATS script”
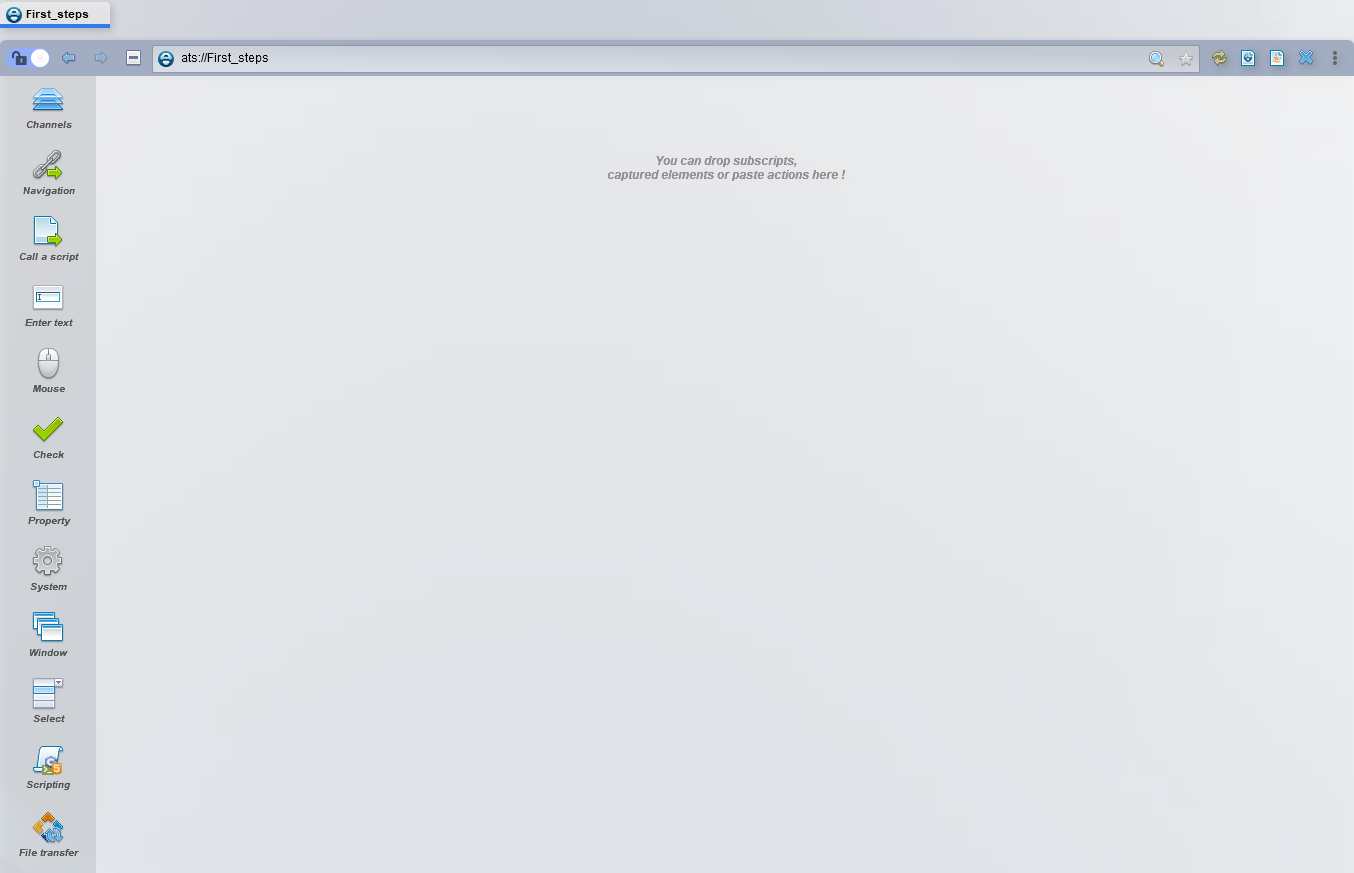
Enter the name of your script. This will open a window corresponding to the graphic interpretations of the actions that will be performed on your script. The ATS format is a textual format that will describe all its actions.
To do the link between Agilitest and the tested application you need to open a channel.
To do that, click on the “Channels” menu and select the action “Start channel” and then select your application.
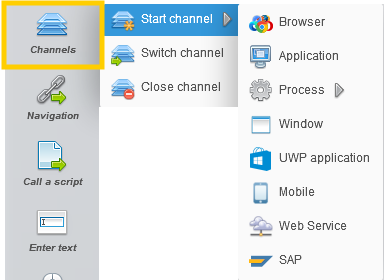
It is possible to do multi-channel by creating several open channel actions. The name of these channels will automatically adapt to the number of open channels. It is also possible to rename them.
🔸 Warning
You can only make one instance with web browsers, which means that for the same browser opened in several channels it will correspond to several tabs or channels that open different browsers in parallel.
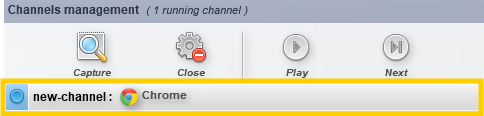
Once you have created the channel action, click on the execution button to launch the action

This will open the channel opening window with various information about the browser and the operating system.
.png)
On the Agilitest interface, the opening of the channel will be indicated by its presence in the channels management area with a line that appears with the name given to the channel.
In a web test, to access a URL you must click on the "Navigation" action and select "Browser URL".
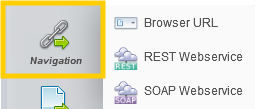
Click on the action to open the input bar and indicate the url you want to launch.

Once the site is open you can perform various actions using the elements that compose it. To do this you must capture the elements with the capture tool.
Click on the “Capture” button in the channels management
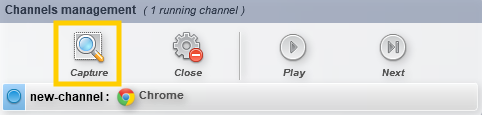
The capture tool will open by placing a filter on the channel and bringing up the capture window. With your mouse you can hover over the DOM elements that will be highlighted by a blue box.
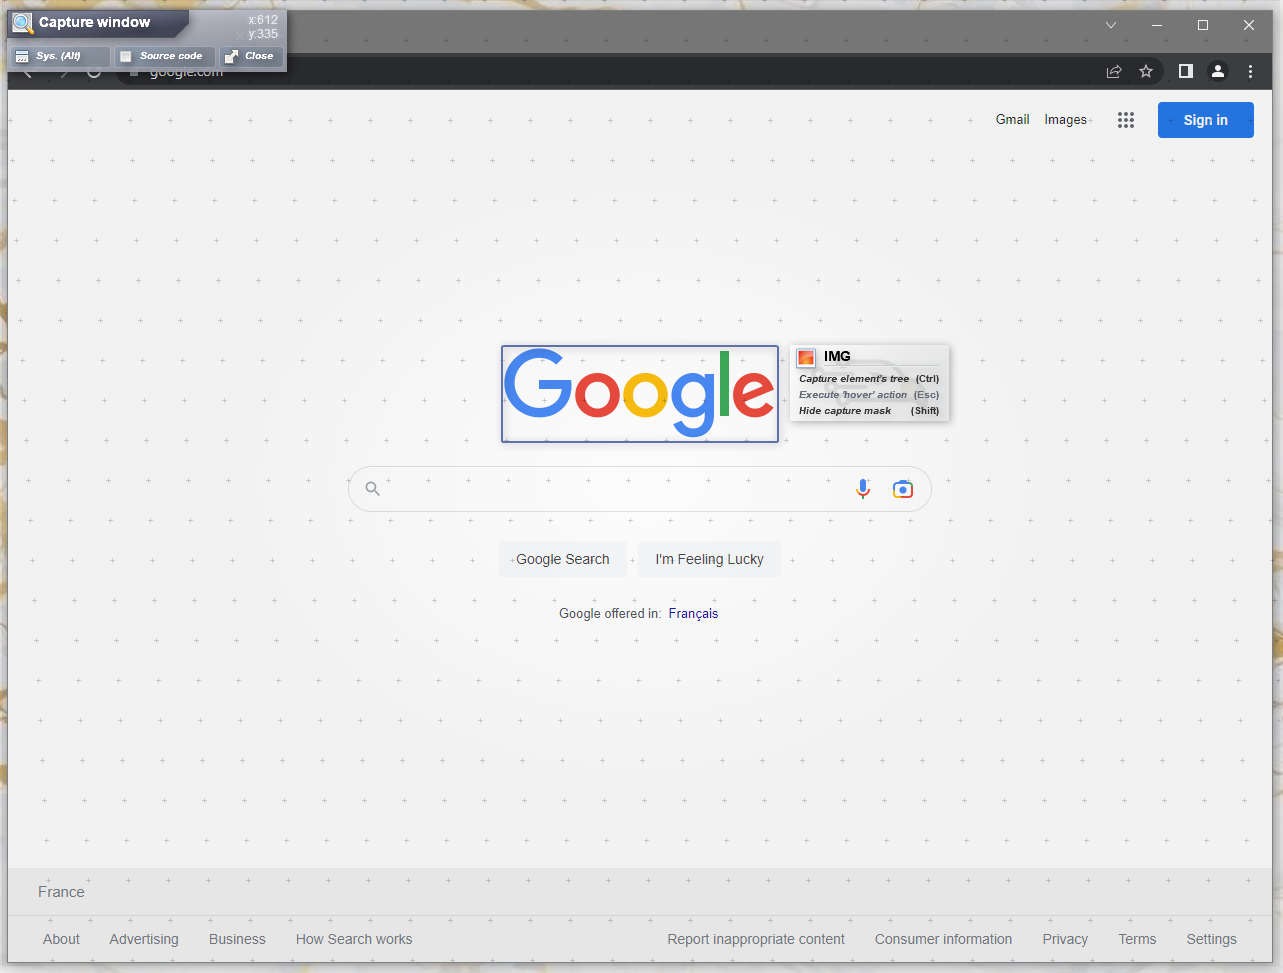
To capture an item, press the CTRL key on your keyboard to open the parent window of the captured item.
.png)
This window displays the tree structure of the element from the root to the targeted component. Each branch of the tree has properties that can be selected as attributes. The properties can be taken from the various branches of the tree for further clarification.
🔸 Warning
Pay attention to the properties that are going to change and that cannot be recognized in the script afterwards (Example: text, class, etc).
Click on an attribute to open the property value. This can be changed in the form of a regular expression.
.png)
Once the attributes are selected, click on the statistics button to confirm the uniqueness of the element found.
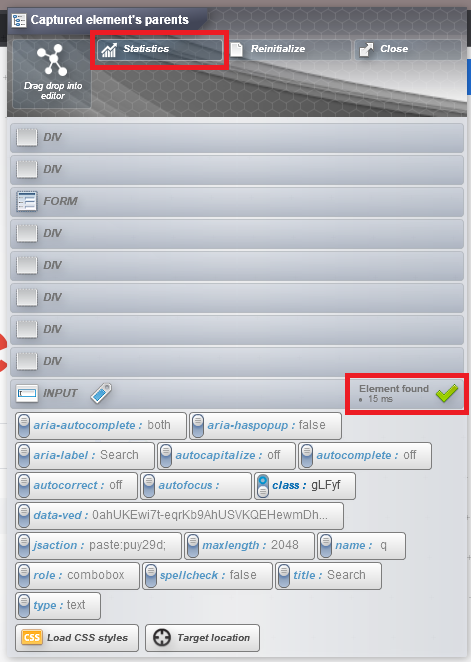
If several elements match these attributes, you can select others by moving up in the branches.
Once this is done you can drag and drop your element into the script which will create an action.
Select the action you want to use.
.png)
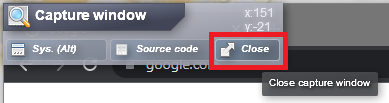
Once the capture is complete, you can close the capture from the channel management menu in Agilitest.

Or you can click the "Close" button from the capture window to stop the capture tool.
Your actions will be added to your script. It is possible to move them manually.

- Each action has an index that is automatically added and adapts to its position in the script.
- In the action is the nature of the action which can be configured.
Example : For the text input you can enter the text you want to appear in your test.
3. Finally, you will see the component that has been captured. You can click on it to have access to its value which you can change. You can add parents and children to your element and change the nature of the component.
.png)
Once your script is completed, you can launch the execution by clicking on the “Play” button in the channels management menu.
.png)
🔸 Warning
In access remote, make sure that your sessions are kept open during the executions.
When you want to close your channel, you can create an action “Close channel”.
.png)
You can also close your current channel from the channels management menu.
To do that, click on the “Close” button
.png)
Or you can click on the “Stop” sign in the channel line
.png)
🔸 Warning
You should not close your channel manually directly from the application. Agilitest is not intrusive (no plugin), it has no way of knowing that you have closed an application directly by the actions of the operating system (Example: by clicking on the cross of the application window).
