Editor presentation
To help you familiarize with the Agilitest environment, here is a presentation of the various elements that makes up the Agilitest editor.
Configuration and help menu
Agilitest settings
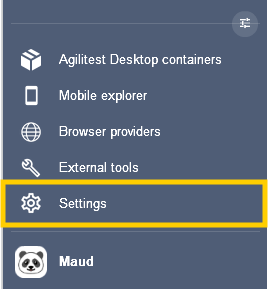
You have access to the Agilitest settings in the side bar at the bottom right of the editor.
Agilitest settings allows you to:
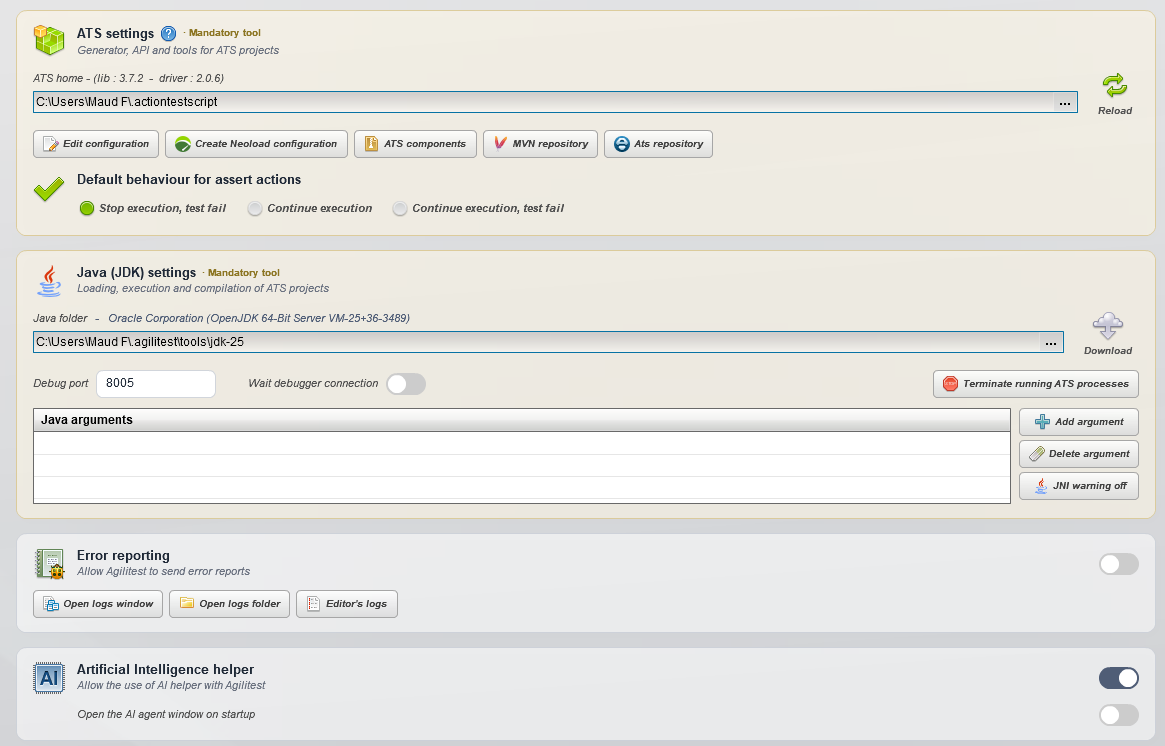
- Configure ATS settings
- Agilitest is a software solution that updates automatically as soon as it is launched. New versions are updated regularly, every one to three weeks.
- Configure Java (JDK) settings
- Generate error reporting
- Enable (or not) Artificial Intelligence helper
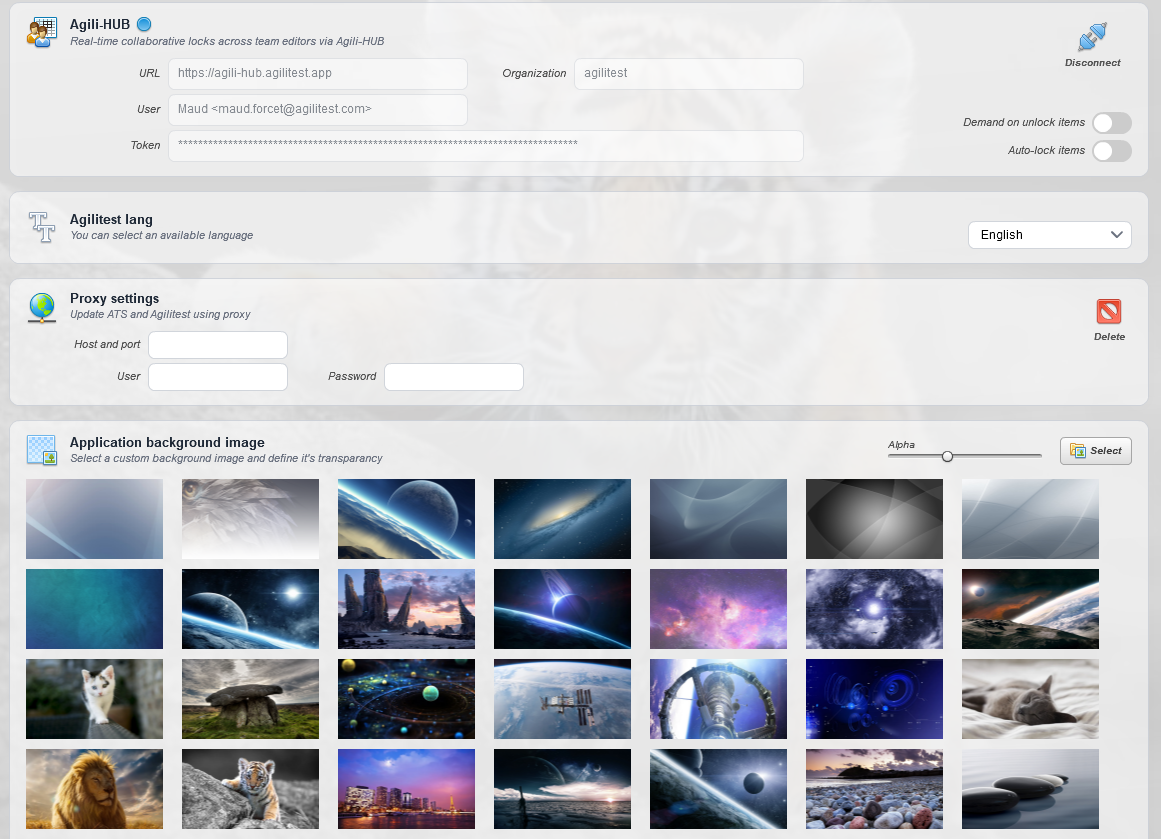
- Connect to Agili HUB
- Configure the language of the editor (french, english)
- Set up Proxy
- Change background image
Tools menu
You have access to the external tools menu at the bottom left of the editor.
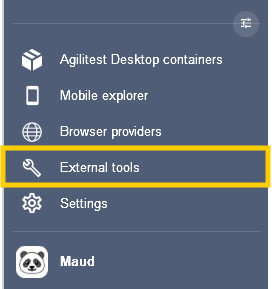
You can improve your experience by adding tools that communicate directly with Agilitest.
Among those tools there are:
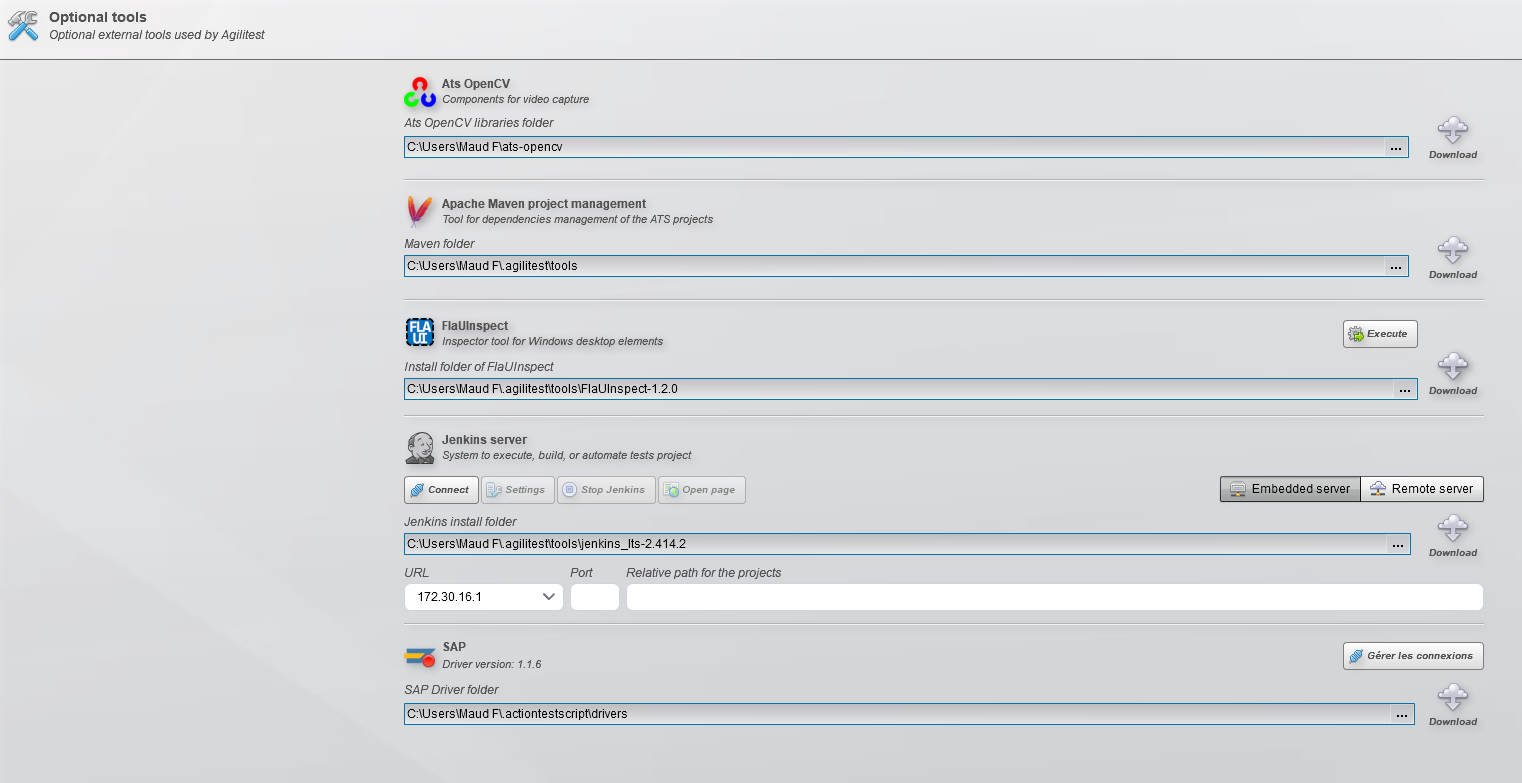
- ATS OpenCV
- Apache Maven project management
- FlaUInspect
- Jenkins server
- SAP
Help menu
You have access to the help menu of Agilitest at the top right of the editor

From the help menu you have access to:
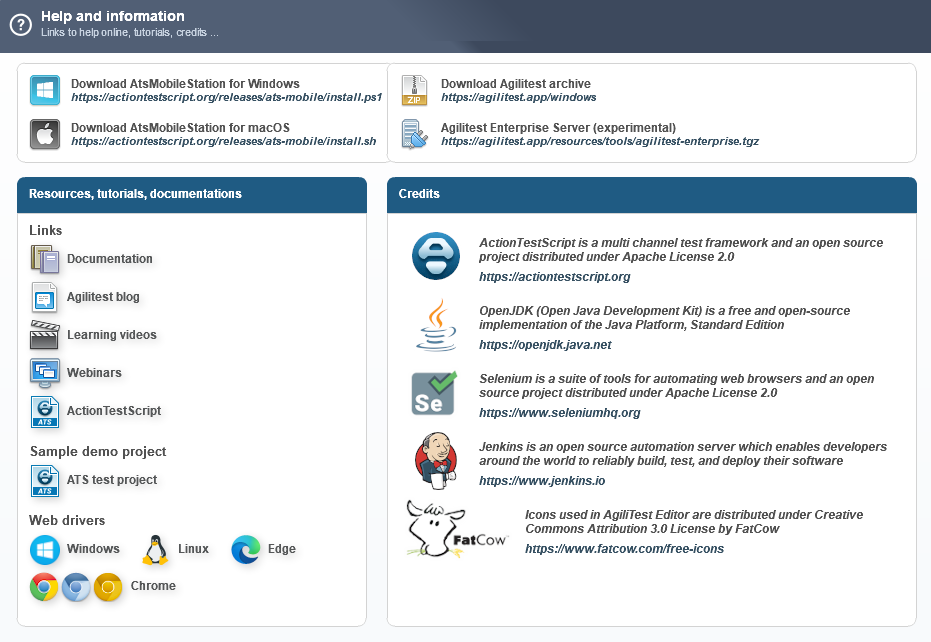
- Agilitest archive download link
- Mobile Station download links (Windows and MacOS)
- Various resources to support your path on Agilitest (documentation, videos, webdrivers, etc…)
Project management
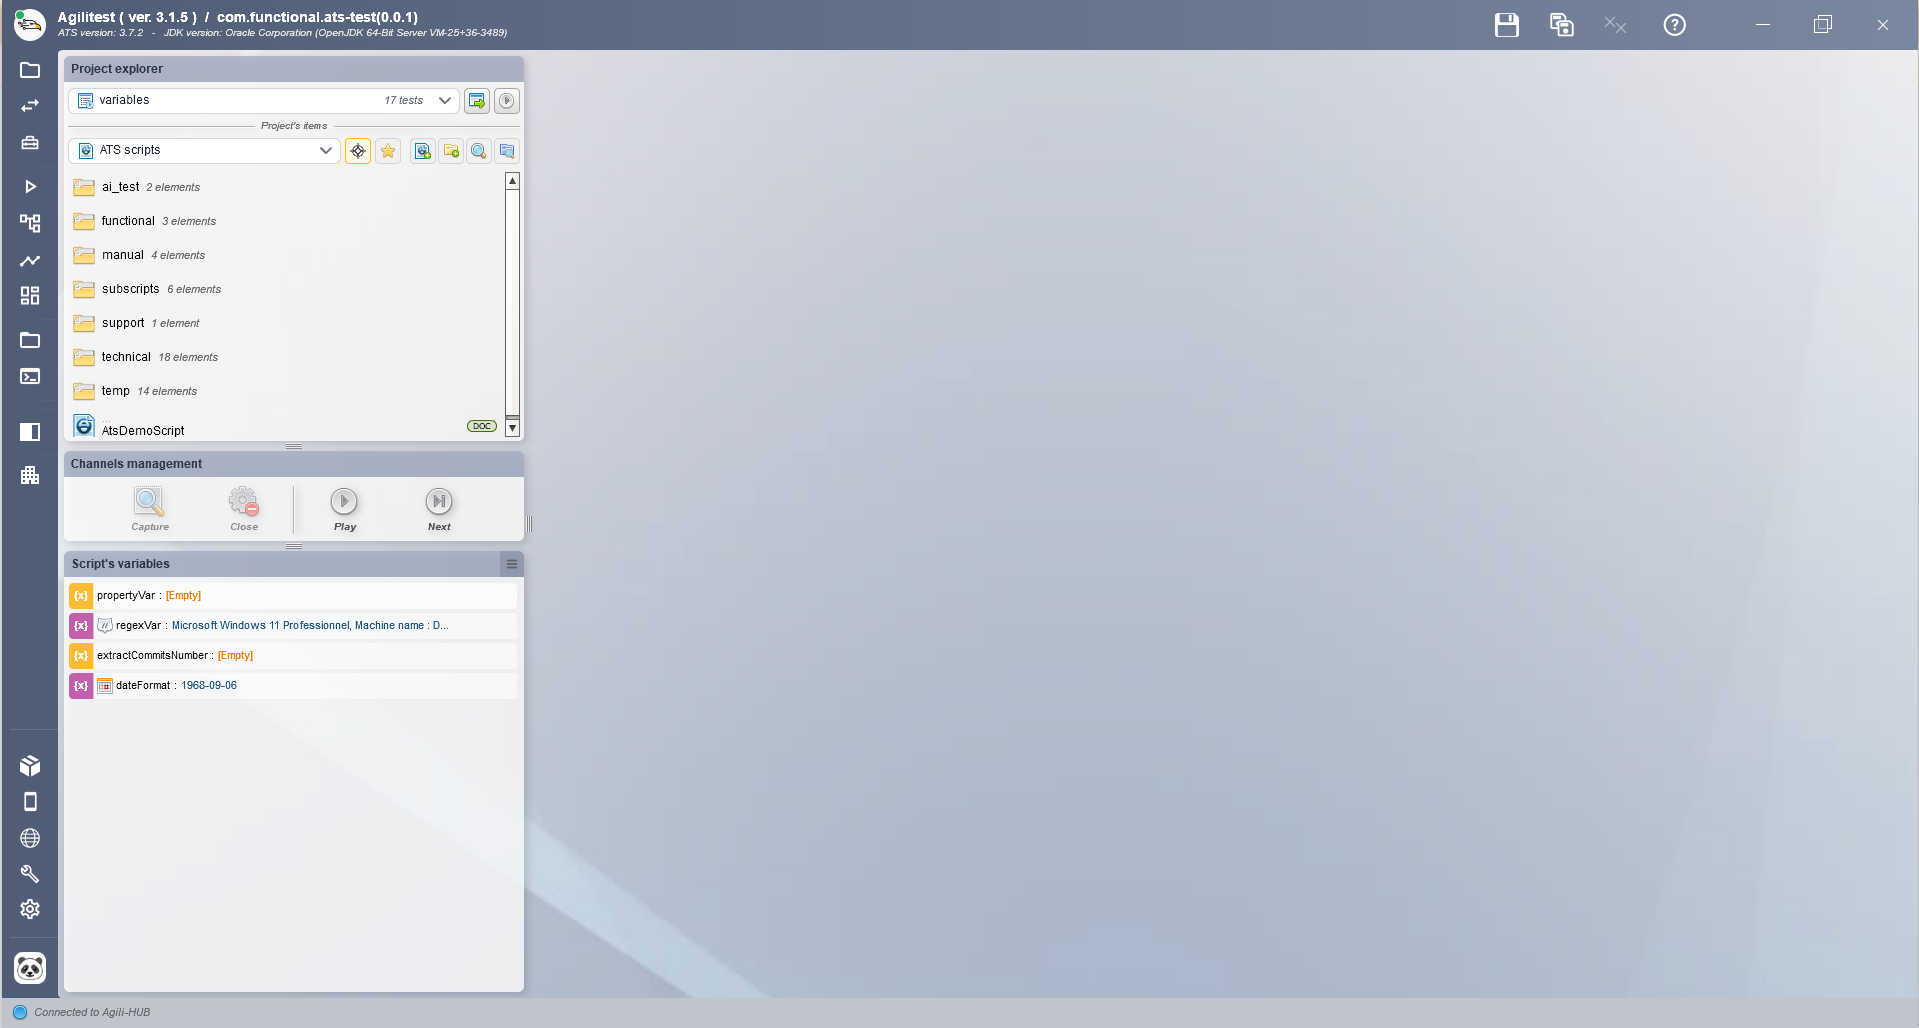
A side bar is situated at the left of the editor.
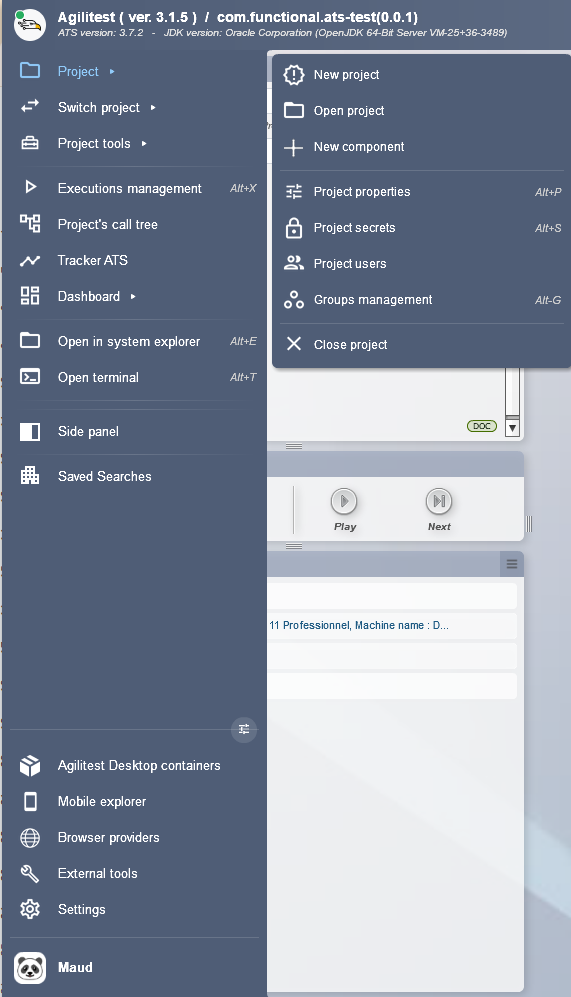
From this side bar you can manage your project with various menus (Project, Switch project, Project tools…)
To start a new project, you must create a new project and add scripts.
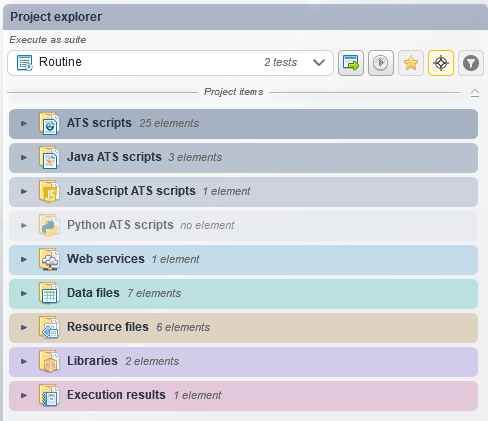
You can add scripts from your project explorer.
The project explorer is a structure tree that lists all the projects and elements they are composed of.
It allows you to have a global view of a project and to bring global modifications as well as to limit the step-by-step method.
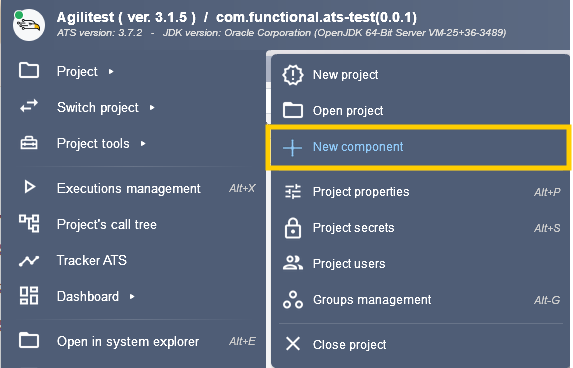
You can also add a script in your project by clicking on “New component” in the project’s menu
When you create a new component, Agilitest provides a selection of different types of component :
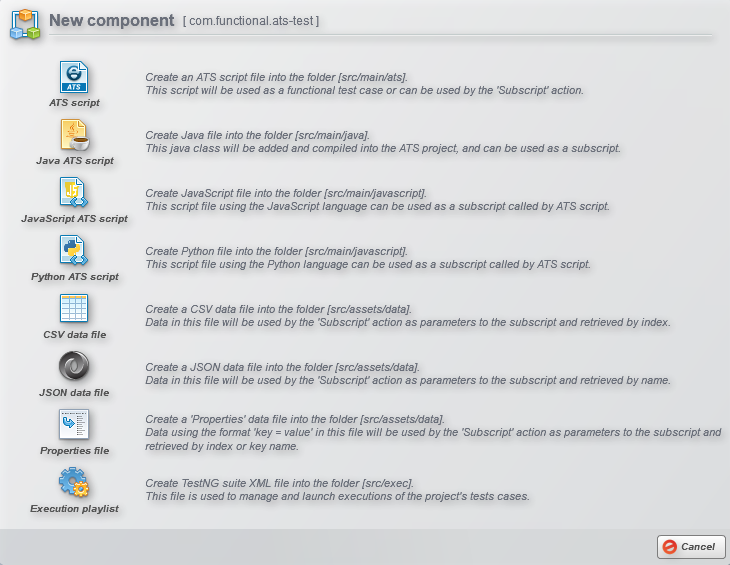
ATS script: To create a new test or a subscript.
Java ATS script: To create a Java file that can also be used as a subscript.
Javascript ATS script: To call a Java code extern to Agilitest.
Python ATS script: To create a Python file that can also be used as a subscript
CSV file: To create a data file in order to test various data
JSON file: To create a data file in order to test various data as well.
Properties file: To create a properties data file using the format “key = value”
Execution playlist: To create an execution with multiple tests and filtered with various parameters.
Channels management
Channel management menu is a central element of Agilitest and that will facilitate the test creation and maintenance.

In this channel management menu you have access to:
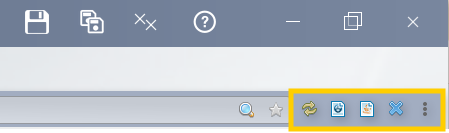
- The Capture tool button
- The Close button to close the current channel
- The Play button to play the script
- The Next button to play an action and the following one
Agilitest editor’s HMI
The user interface keeps the main editor very streamlined, focusing solely on the test scenario. The secondary panels (variable management, component attributes, network settings) only open “separately” when you request them, and you can close them immediately afterward.
The Agilitest editor keeps the script editor and its actions displayed on the main screen, but all other features open in a window separate from the editor.
This window opens when you click on the relevant item (web service, call tree, data, etc.). The window consists of several tabs, and each tab can be opened as a separate window.
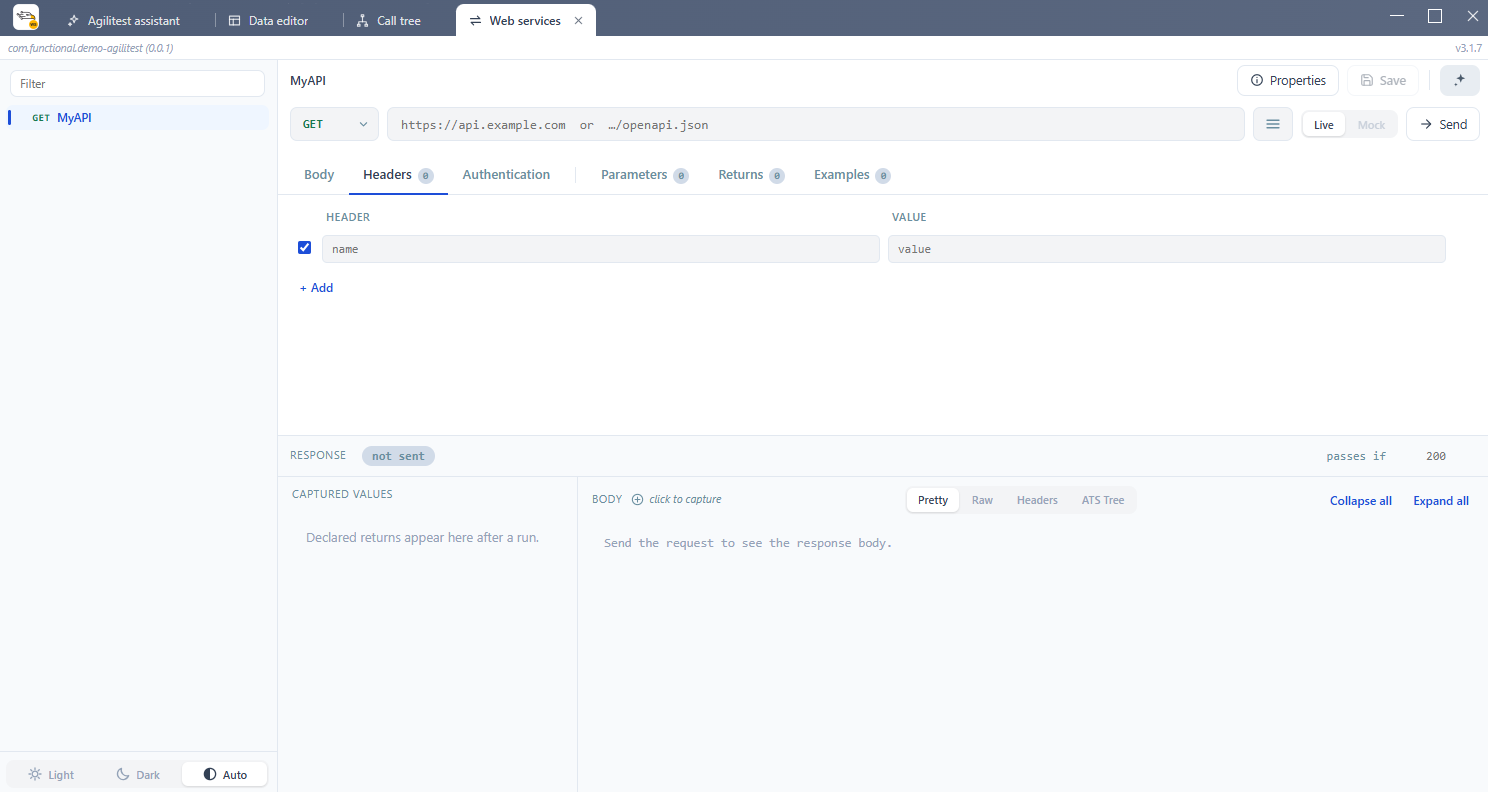
Some of the windows also feature an “AI Assistant” button to help you maintain your scripts.
Agilitest's AI assistant (powered by the open-source ats-core engine) serves as a tool to streamline the creation, maintenance, and troubleshooting of your automated test scripts.
Script’s variables
The script’s variable menu allows you to create and visualize all the variables that are used in a script.
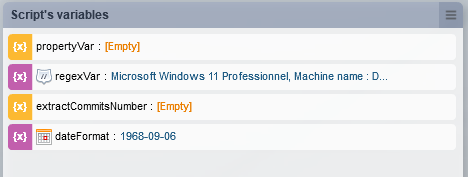
This special interface is to avoid having the variables in the script’s core that is only made for actions.
Scripts editor
Agilitest script editor represents a big part of the editor. It shows the actions you can execute on your tests.
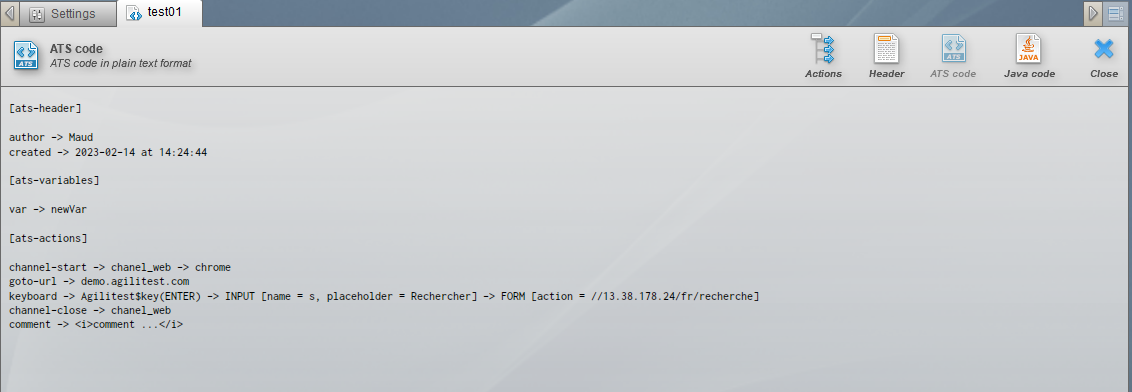
The editor will propose graphical interpretations of the actions that will be performed on your script. The ATS format is a textual format that will describe all its actions.
Condensed view
The condensed view in Agilitest is a display mode in the script editor that hides the technical complexity of actions, showing only their functional summary.
How the Condensed View Works
Instead of displaying the complete action block—including the locator tree (DOM/XPath), execution conditions, timing options, or secondary attributes—the condensed view reduces each action to a single summary line.
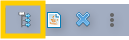
You can activate or deactivate with the button at the top of your script.
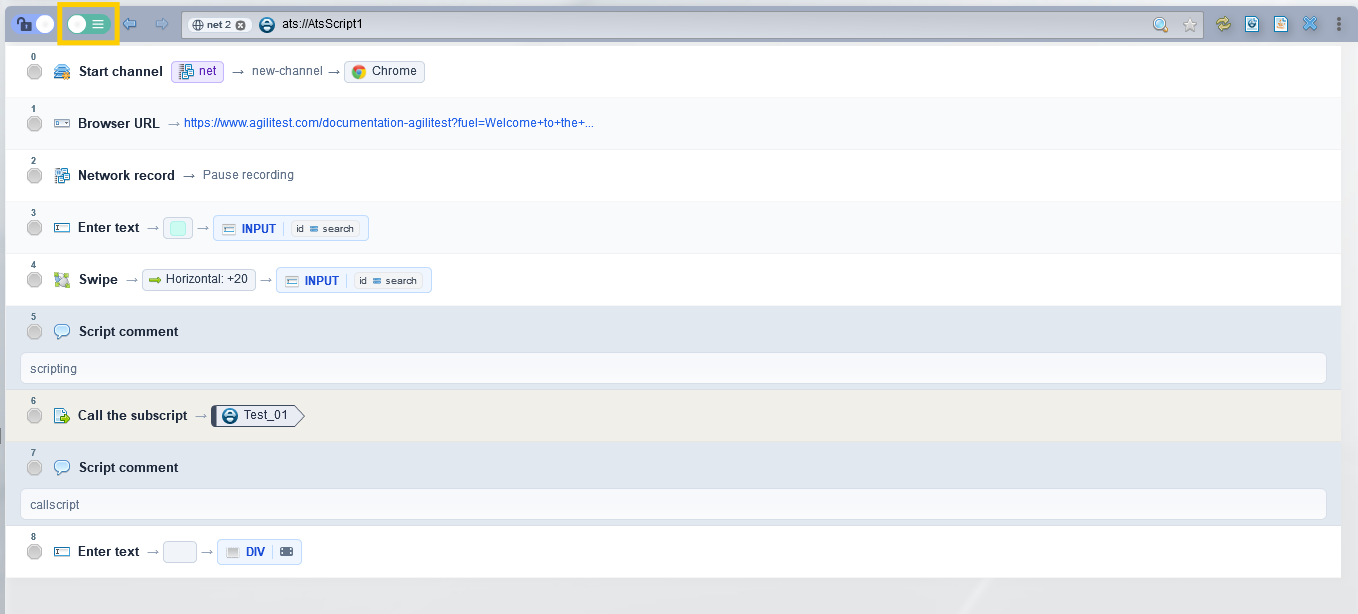
The length of the script is drastically reduced, which makes it easier to scroll through and find a specific step in long tests.
The condensed view only display:
- The type of action (e.g., click, text entry, check, sub-script call).
- The simplified target element (e.g., the button name or field label).
- The associated value (e.g., the injected text, the variable, or the property being checked).
Reordering actions using drag-and-drop, as well as copying and pasting blocks of instructions, becomes faster and more accurate. The script reads like a series of step-by-step functional stages, free from technical visual clutter.
You can click on each action to display the detailed action and configure them.

The display is ideal for reviewing or confirming a workflow with a Product Owner or someone without a technical background.
Actions menu
The Agilitest actions menu is central and allows you to manually declare all the possible actions in a test script.
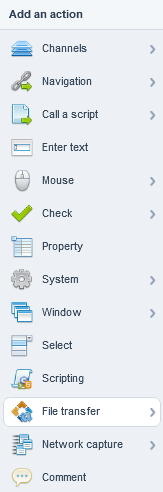
In this menu you will find all the agiles actions that are used during a test. It was made to secure the most compatibility between all the devices supported by Agilitest.
This menu is also used to manage different channels used in a test.
Script header
The script header menu is used to manage a set of metadata linked to a test, like execution suite for example.
To have access to the script header, open a script and click on the “Script’s header data” button
You can visualize the ATS script corresponding to your test.
💡 Tip
This can be useful to copy the information from the script’s header and send it by email or add it to a comment in your bug tracking tool.
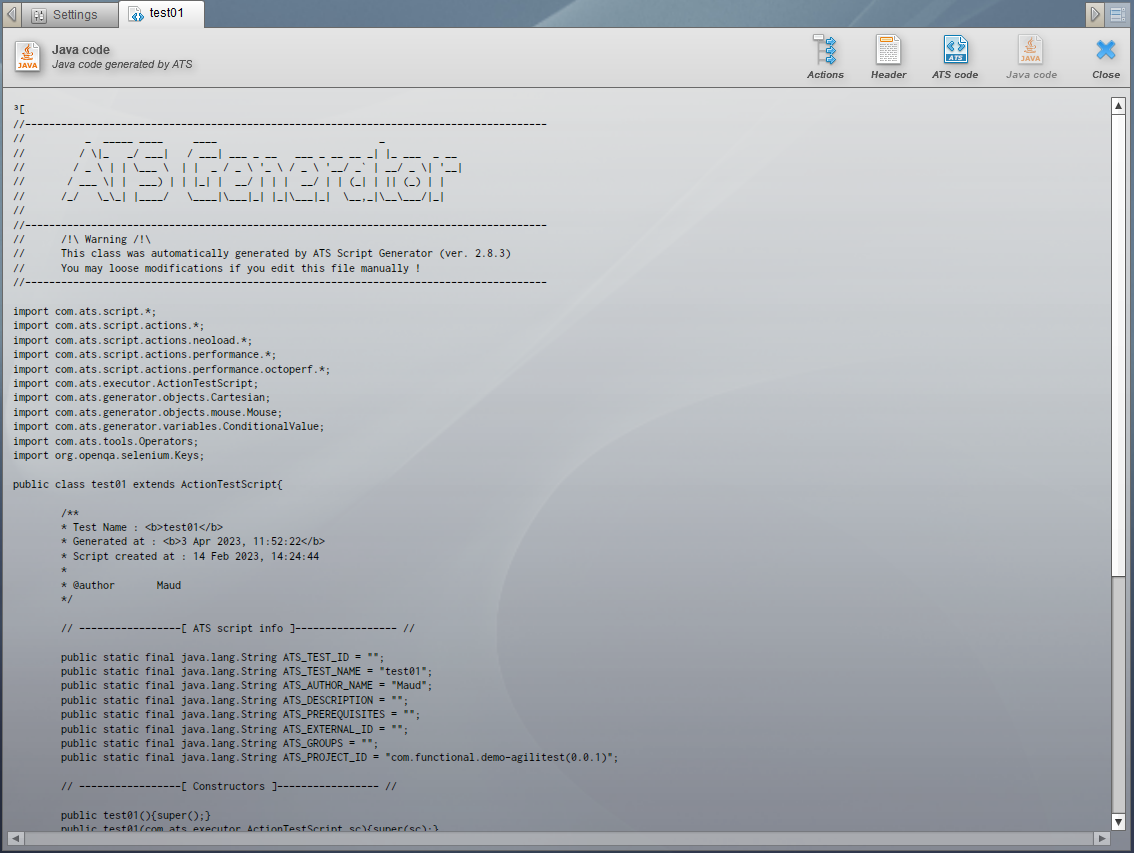
You can also have access to the Java code which once it is compiled will allow the execution of the tests.
🔸 Warning
ATS and Java scripts cannot be edited directly in the editor.
To return to the script editor, click on the "Actions" button