File transfer
The file transfer action allows you to either upload a file from your machine to your application or download a file from your application to your machine.
File upload
The upload action allows you to send one or more files to your application.
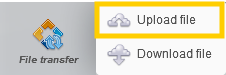
Click on the file transfer action and select “Upload file”.
Click in the action to choose a path for your file.

You can choose a path using special values or point to your machine's hard drive..
🔶 Warning
If you select the path to the hard drive, this will create an absolute path. When running continuous integration, you must be careful to use the same path, otherwise it will never be found.
You can also copy the file into the project and thus create a relative path to the file in the project's resource directory.
To do that, select “Copy to project assets”.
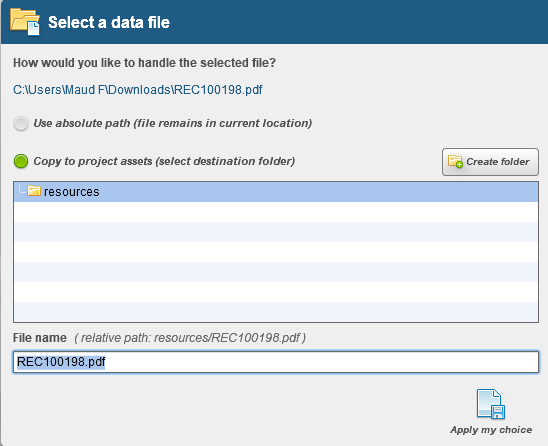
You also have the option of creating a new directory for these files in your resources directory.
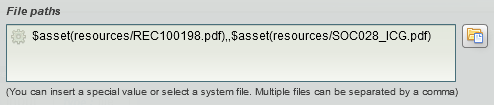
To send multiple files, simply separate the file paths with a comma.
You can select 2 options:
- Clear

The delete option allows you to delete one or more files already present in the entry. In some cases, components that allow files to be sent can enter multiple files.
Example:
If 4 files are already entered in the component, when you perform the upload action that includes 2 files with the “delete” option enabled, it will delete the 4 previously entered files and send the 2 files from the action performed.
- Auto-submit

With the auto-submit action, this allows the entered file to be sent automatically without additional confirmation.
If this option is not enabled, you will need to add a mouse click action to click on a send file confirmation button (specific to each application).
The difficulty with this action is finding the right element in the application that allows you to send files.
The elements that allow uploading are “input” elements of the “file” type.
If you cannot find the element, you can use the “Load” action to help you.

This action lists all the elements that allow one or more files to be sent on the loaded page.
Download file
The download action allows you to download a file from your application to your machine.
For the download action, the element to be found on the web page is of type a, i.e., a hyperlink that points to another file or another web page.
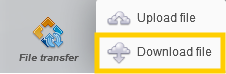
Click on the file transfer action and choose “Download file”
Click in the action to choose a path for your file.

As with uploading, you can choose a path using special values or to your machine's hard drive.
🔶Warning
Using resource files is not a good practice for the download action because it is not an absolute path.
Select a path to a folder on your computer using the “Select a folder” button.

The path used on the test design machine must also exist when the test is executed. You need a common path that you can create with environment variables.
The retrieved file must always have the same name and no extension.
