Settings menu
When using Agilitest for the first time or during its use, you can configure the software to optimize its use. Agilitest works mainly with the ATS and Java (JDK) packages that will be used to create, maintain and execute automated projects.
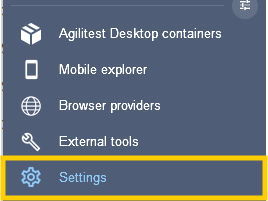
From the sidebar, click on “Settings” to open the editor’ settings.
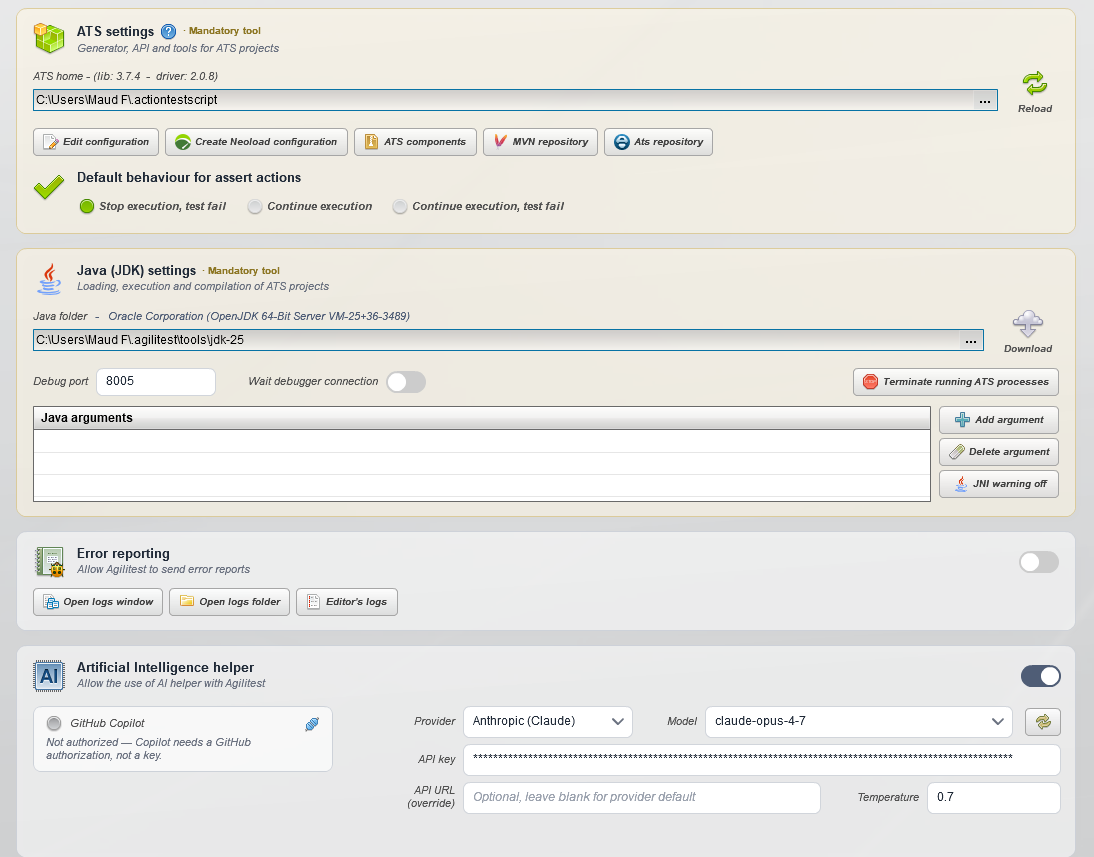
From there, you can configure various aspects to help you maintain your scripts.
Those settings can be changed for each project.
ATS Settings
Agilitest requires an up-to-date ATS library to operate.
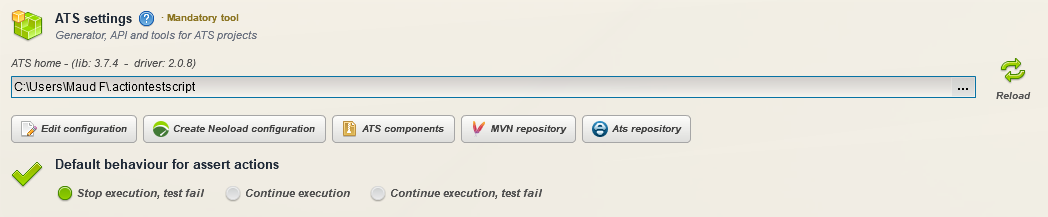
From these configurations you can :
- Create/Edit a configuration: This will create a global configuration of ATS in the system. By clicking on it you can modify the configuration.
- Download ATS components
- Create a Neoload configuration
- Open a Maven directory
- Open an ATS directory
You can also set up default behaviour for assert actions for your project:
- Stop execution test fail
- Continue execution
- Continue execution, test fail
Java (JDK) settings
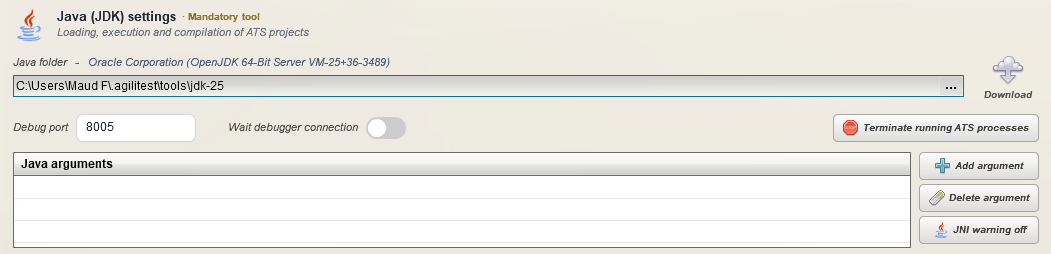
Java is a mandatory tool used to load, compile and execute ATS projects.
From the configuration menu it is possible to download the JDK or to enter the path to a JDK already existing in your computer.
🔸 Warning
You need at least a version 11 of the JDK for Agilitest to work.
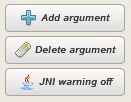
It is also possible from this interface to add Java execution arguments for the launch of tests by clicking on the "Add argument" button.
Error reporting
You can enable error reports (or logs) by checking the "Error reporting" box.

Artificial intelligence helper
Agilitest's AI agent is designed to interact with humans in real time using an “AI Interactive Loop” architecture. Artificial intelligence steps in to assist the tester where it provides real added value.
AI helps you explore the application and build reliable step-by-step scenarios without writing any code (no-code).
To configure your AI agent, go to the settings menu. There, you can decide if you allow the help of AI and which AI provider you want to use.

🔸Warning
This is not the same AI as the AI assistant. The AI helper is used in the Agilitest editor only, whereas the AI assistant is focused on test executions.
Github Copilot
You can configure a Github Copilot if have a Github account.
Click on the link button to connect your account.
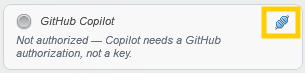
From there, it will open the Github window in which you connect your account.
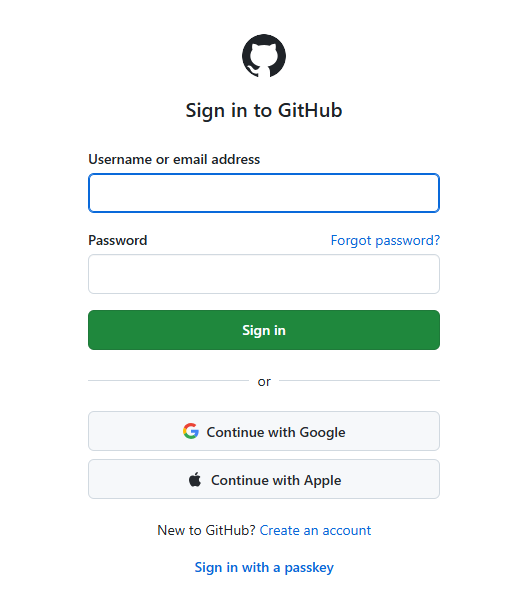
Then, enter the code provided by Agilitest to link the account to the editor.
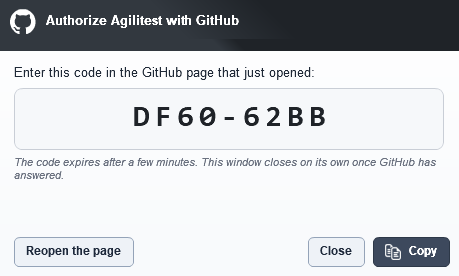
Click on authorize to finally connect your device.

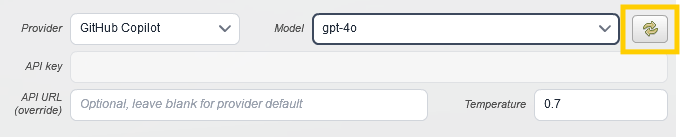
There are several providers in Copilot, if you retrieve all Copilot models, Agilitest will list them all.
Some models may not be accessible with your profile depending on your Github account.
Click on the “Refresh” button so the list is refreshed based on the GitHub account.
Agili-Hub
Agili-Hub allows you to synchronize your scripts with your team.

By connecting to a server, scripts from your joint projects can be synchronized with the rest of your team. You will be able to see modifications, additions and removals in real time.
This feature is designed to enhance collaborative work and make it more efficient.
It works for Windows and for Linux as well.
Languages

In this configuration menu, you can also change the language to English, French or Vietnamese.
Proxy Settings
In the Agilitest settings, the defined proxy will be injected directly into the browsers (Chrome, Firefox, Edge, etc.) when the test are executed.

If you are working on a restricted corporate network or need to intercept network traffic (for example, to integrate your functional tests with load testing tools), you must configure the proxy.
Application background image
Customize your Agilitest editor by changing the background image of your script editor.