Project's properties
Project properties are used to manage and configure a project, whose parameters will be applied to all the scripts in the same project. Each project has its own parameters.
To access the project properties click on the side bar > Project > Project properties
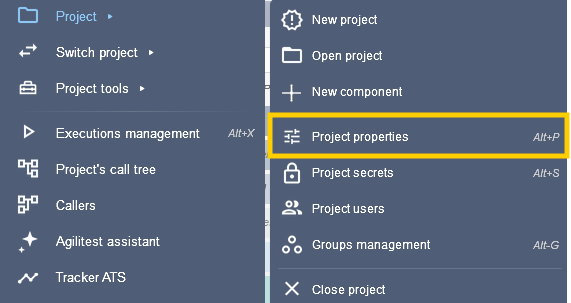
That will open the project’s properties window in the AI Assistant.
You can also open the project properties from the AI Assistant window.
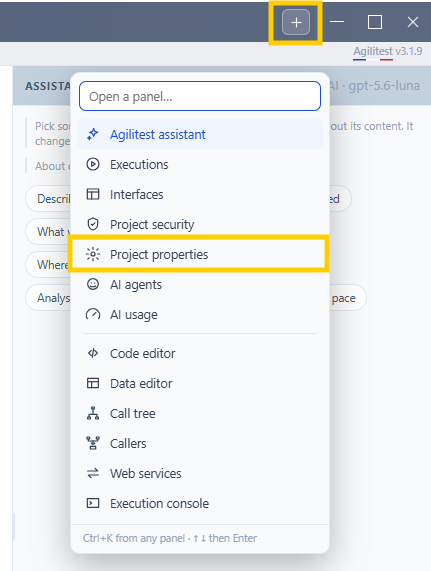
Project Panel
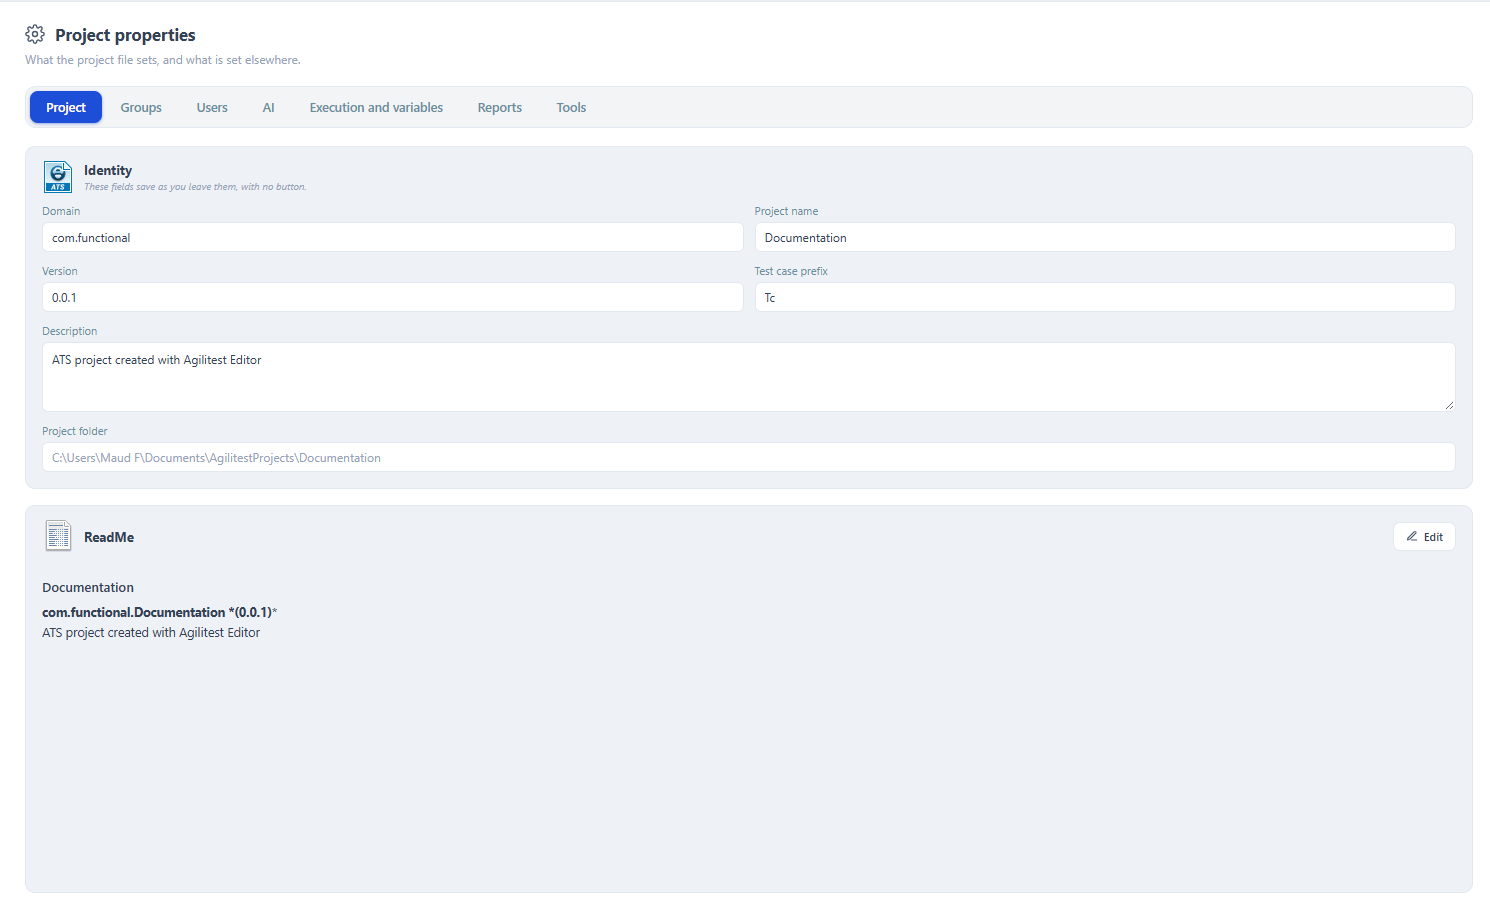
From this screen, you can change the project name and description as well as the ReadMe of the project.
You will also be able to version the project, which means that you can stabilise the use of a specific version of ATS by referencing the ATS library you want.
🔸 Warning
We do not recommend changing the version of the project as the changes in the editor and ATS are closely linked. However this feature is available in case it might be of interest to certain profiles.
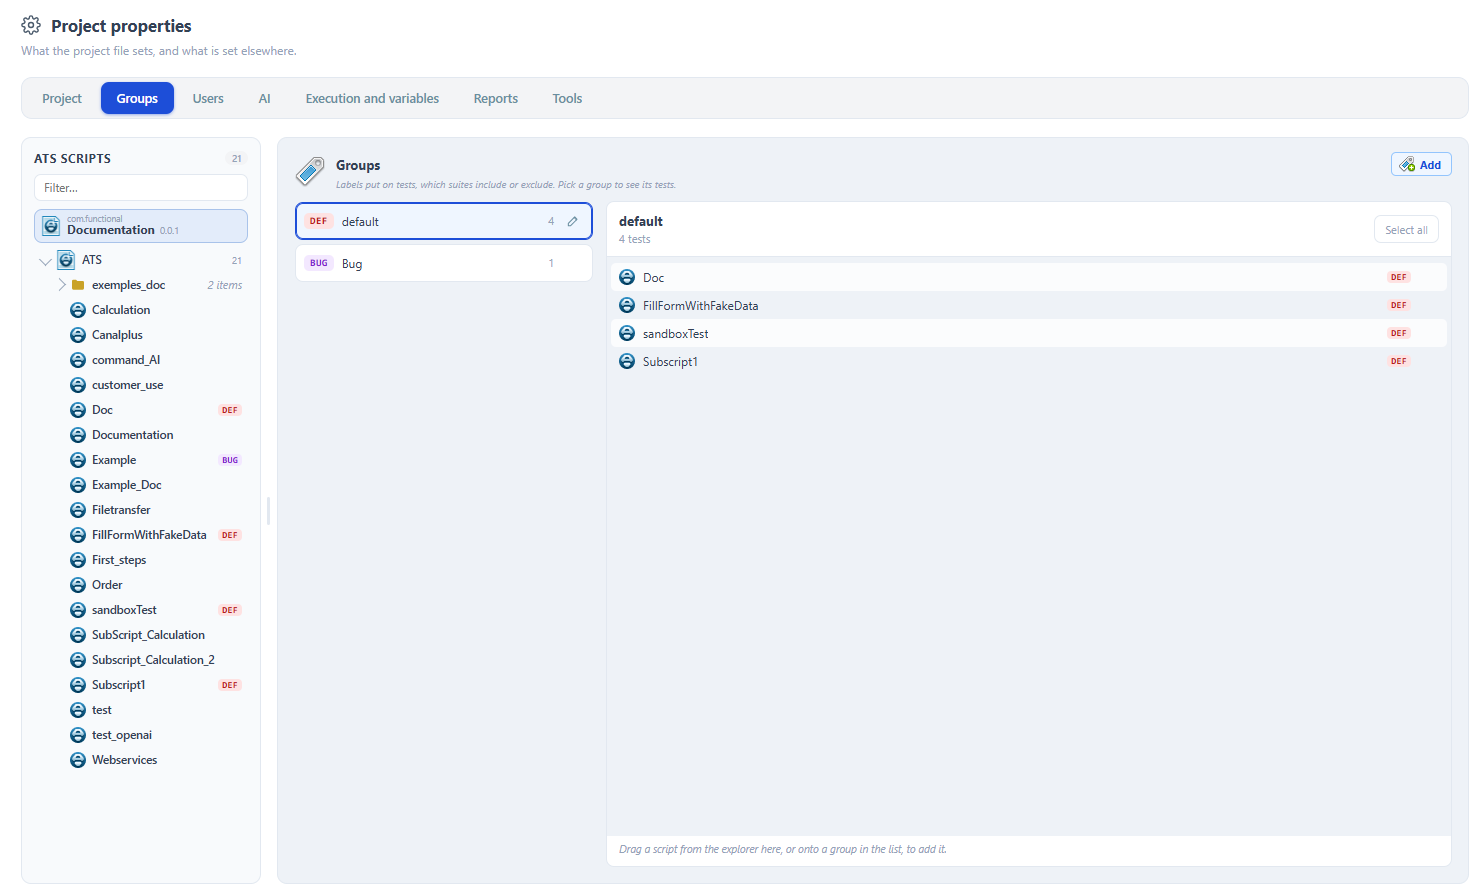
Groups
Users
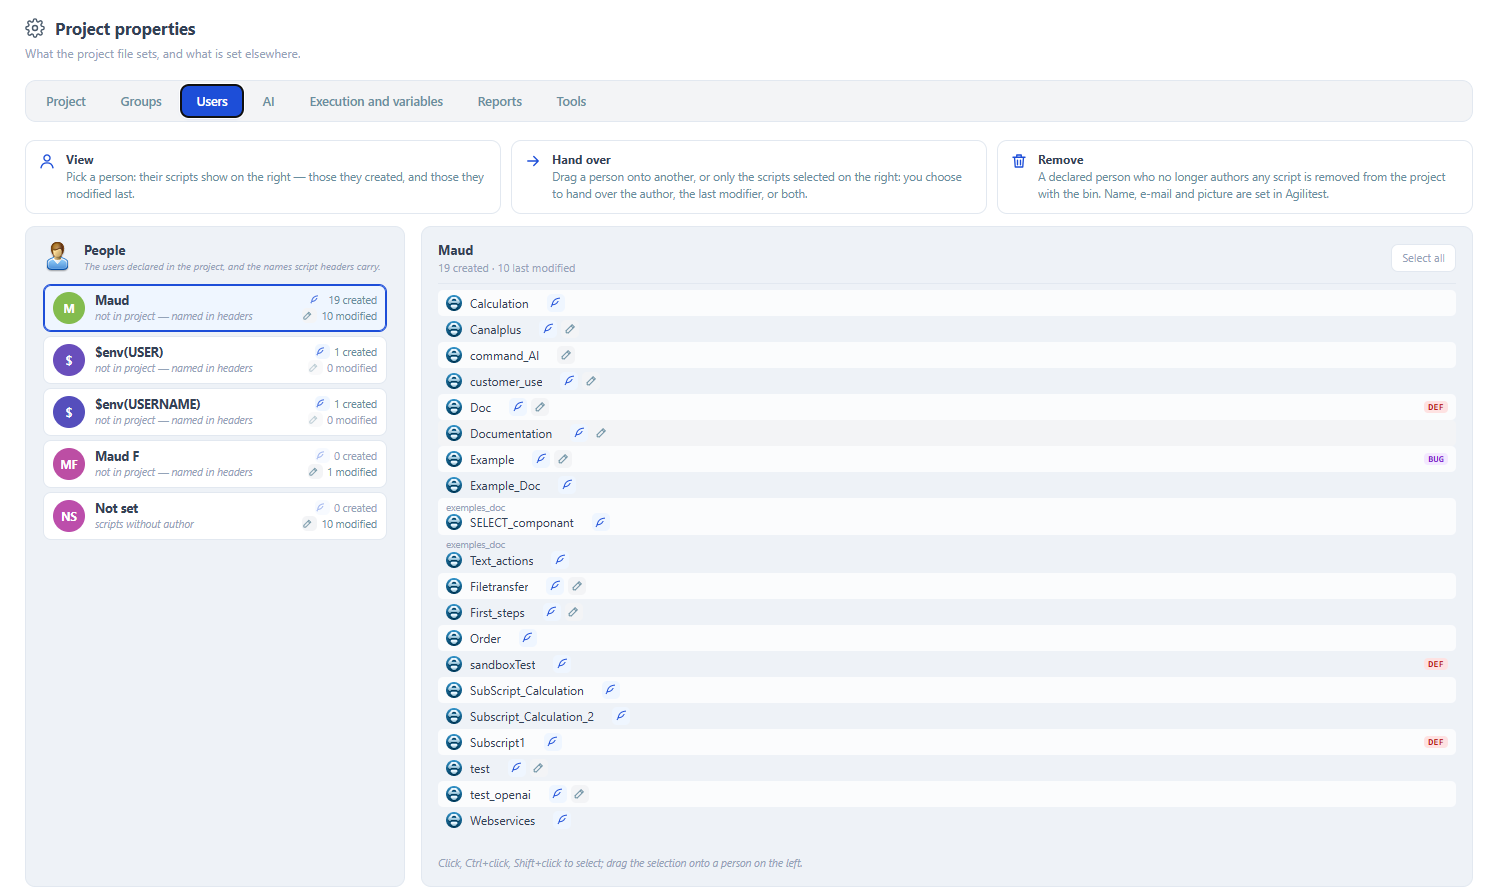
The users’ panel displays all the people that have interacted with the project (creation of script, modification, etc…)
Pick a person on the list to show their scripts the right, those they created, and those they modified last.
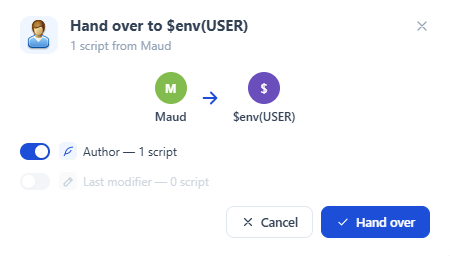
You can hand over the author, or the last modifier by drag and dropping a script into a user, or drag and dropping a user into another.
AI panel
AI provider
Click on the AI provider to set it up.
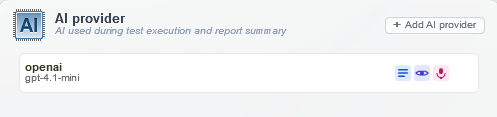
This will open an AI provider window in which you can configure:
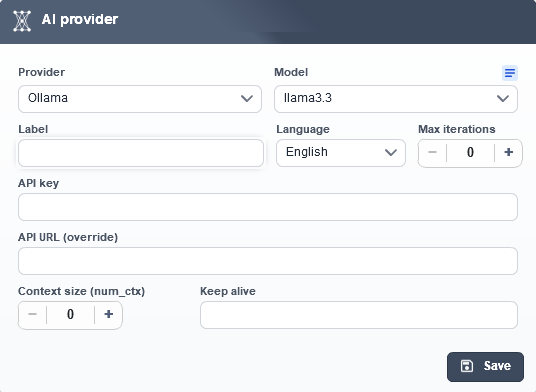
- The provider type and its model: OpenAI, Anthropic, Ollama or AgiLlama.
- API Key: Your private access token if you are using a cloud service (OpenAI / Anthropic).
- API URL: Required for local models or corporate proxies
- Language: This option allows you to select the language of communication (French or English).
- Maximum iterations: Sets the maximum number of “reflection” loops or consecutive correction attempts that an AI agent is allowed to perform to resolve a single problem.
- Context size (depending on the provider): This represents the maximum amount of data (typically measured in tokens or kilobytes) that the application will send to the AI model in a single request, including the conversation history, instructions, and technical data.
🔸Warning
There are two types of AI used in Agilitest. One is the AI helper/assistant, used in the Agilitest editor whereas the AI provider on the project is used on test executions.
AI usages
You can configure which AI provider is used for which production.
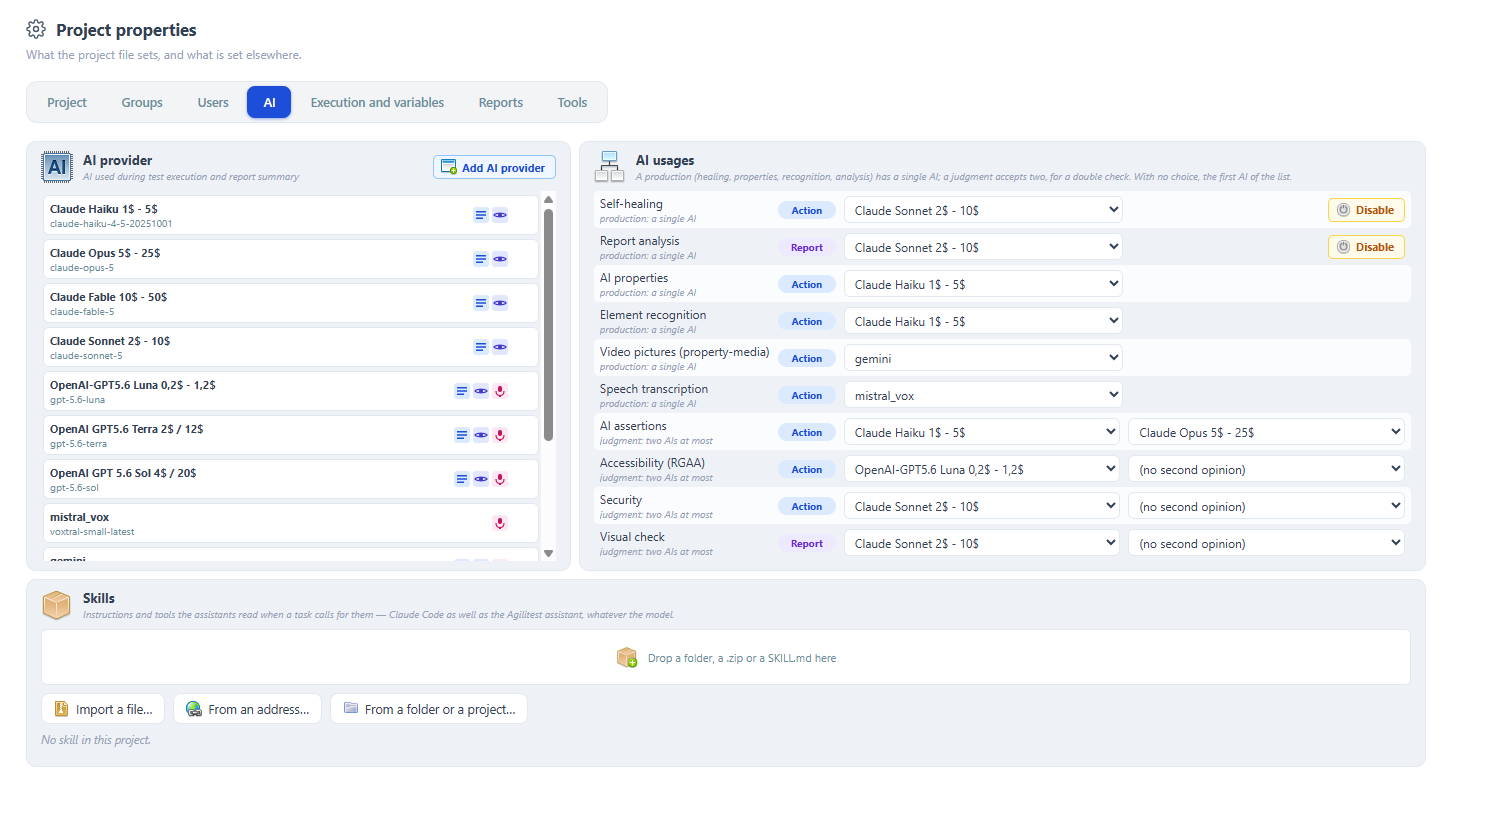
Self-healing
Thanks to self-healing, the AI validates interactions before recording them and intelligently adapts to changes in the user interface (UI). It reduces the fragility of selectors, a major challenge given that maintenance can account for up to 75% of automation costs.
Self-healing can be of great use in a situation where you have an ATS script with an action to click on a button on an application with a specific ID that does not correspond to the ID of the application.
If you later delete your AI providers, Agilitest will automatically disable this mode to prevent a chain reaction of errors
When you use AI for self-repair (AI Healing) of a failed test or to perform an RGAA/Security audit, Agilitest must send a large amount of information to the model: the current test script, the error message, and, most importantly, the complete application tree (the HTML DOM for web or the widget hierarchy for desktop/mobile). A modern web page can have an extremely large DOM.
💡Tip
If the size of your web page exceeds the maximum context window supported by the selected AI model, the request will fail (Error 400 / Context Window Exceeded). Adjusting this setting allows Agilitest to intelligently truncate unnecessary data to stay within the limits.
All changes made by the AI are visible in your execution report.
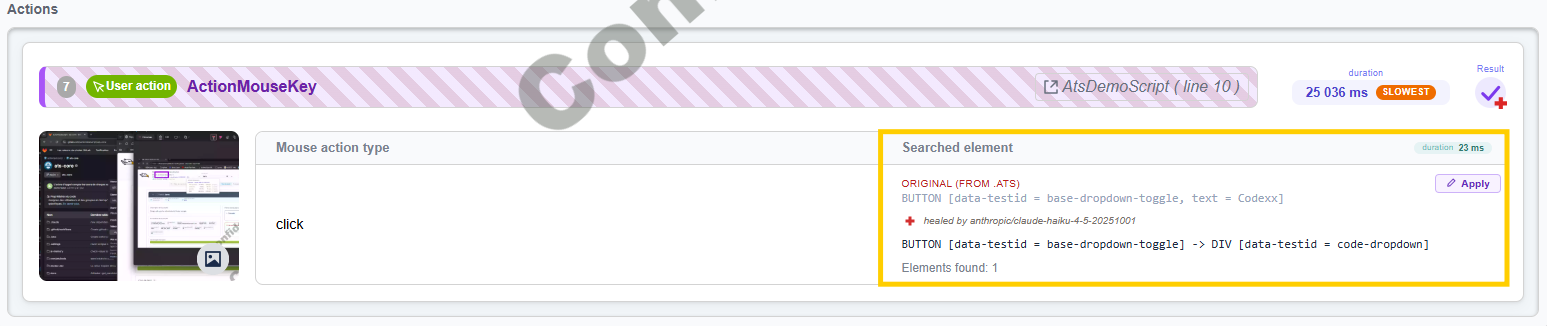
Click on “Apply” to open the script in Agilitest et set up the healed element directly in its emplacement.
Click on the repair filter to display the healing provided.

Practice cases
This can happen when there is an upgrade made after you have created your script and the developers have changed an ID into another.
In classic execution mode, the test is broken, because the ID in the script does not correspond to the ID in the application anymore.
However, with the self-healing activated, the ATS execution pauses. It captures the HTML context and the exact DOM of the page at the moment of the freeze, and sends all of that to your AI provider along with a simple question: “Where did my button go?”
The AI analyzes the changes, finds the new selector, replays the action on the fly, and the test continues as if nothing had happened.
Skills
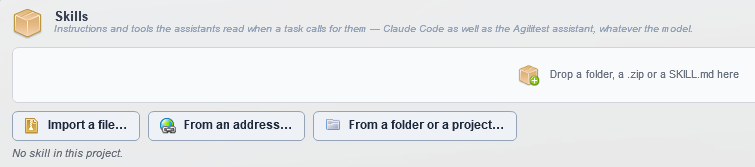
It imports skills (instructions for AI assistants) from a file, a folder, an archive, a GitHub address or another project, several at a time. Before importing, a preview lets you pick skills one by one and shows their origin, what they would replace, whether they contain scripts or bring nothing new. Skills already installed for Claude Code, VS Code or Codex are recognized, and the panel assistant uses them. Installed skills can be updated, moved to the .claude folder or removed.
Execution and variables
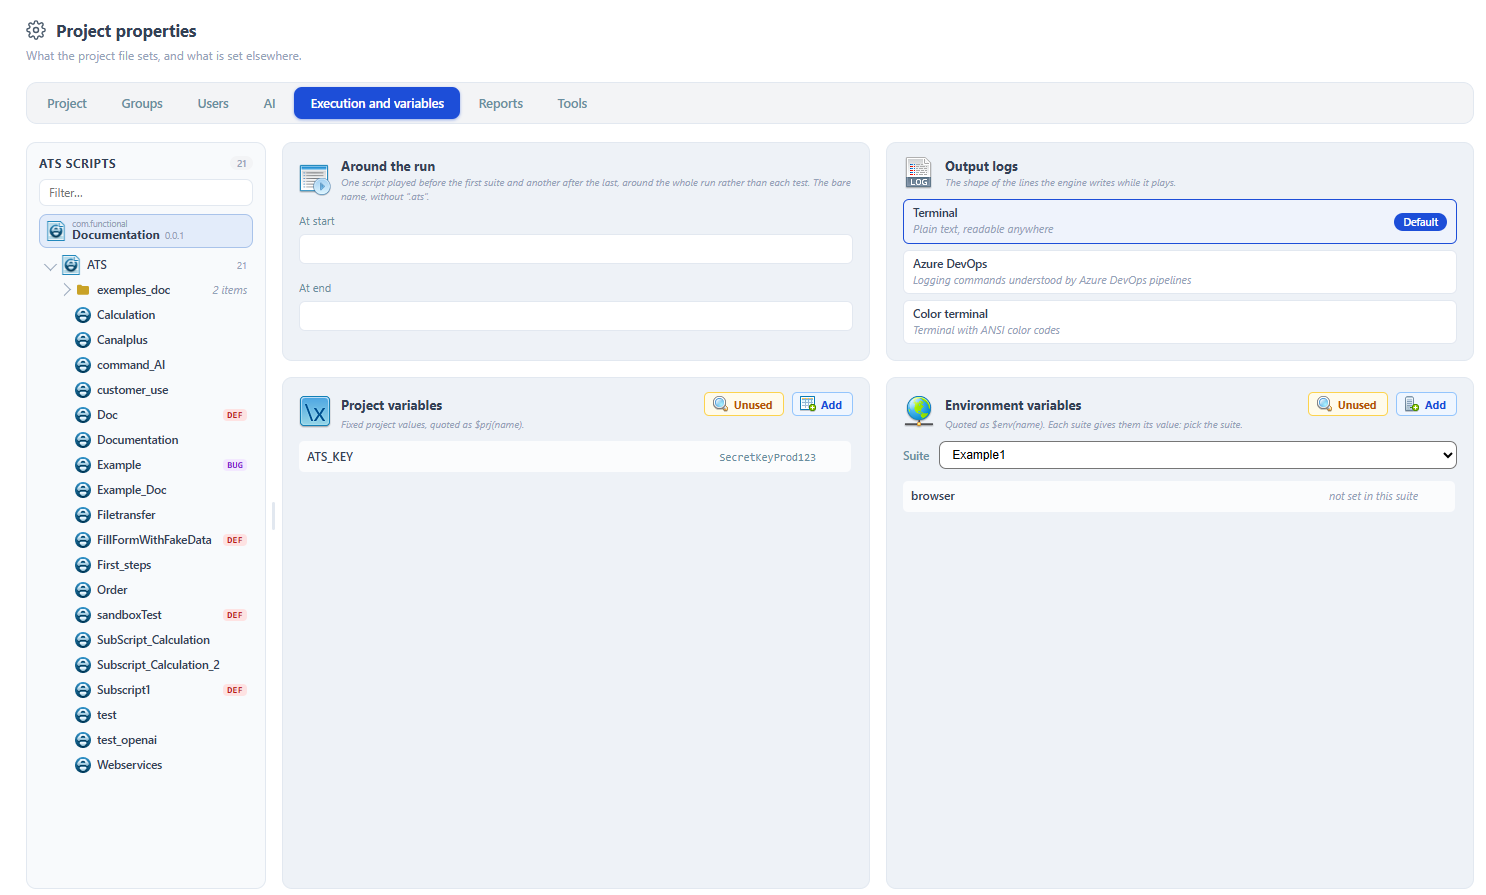
Around the run
In the project properties you can configure a script executed at the start of each execution or at the end of each execution.
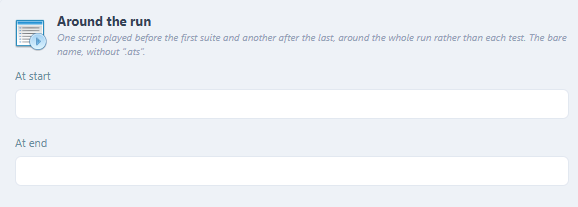
You can manually write the name of the script or drag and drop it from the project explorer.
These scripts don’t appear in the report, they are only executed one time per execution.
It can be useful to use if you want to clean data, or try environment variables.
Output logs
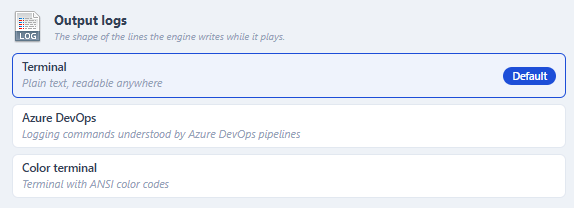
You can set up your output logs with a Terminal, Azur DevOps or a Color Terminal
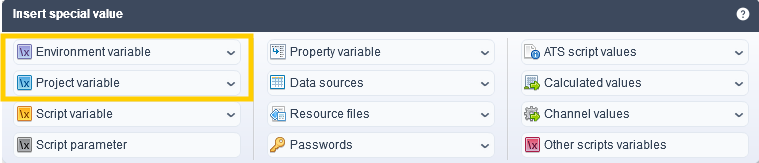
Project and environment variables
Defined at the project level, these variables are accessible globally across all scripts, sub-scripts, and suites within the project.
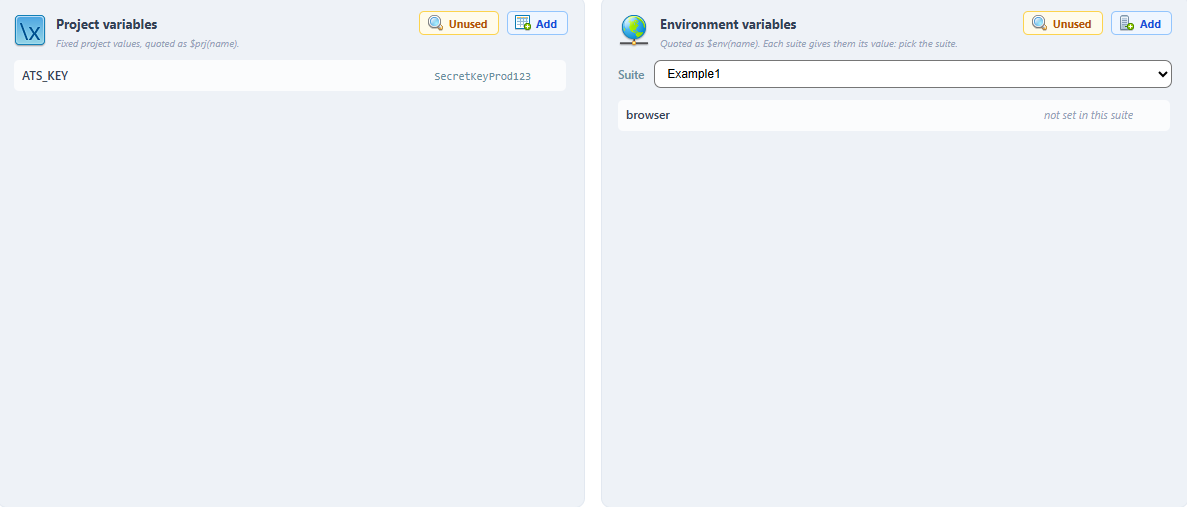
A project’s variable is a fixed project value: $prj(name)
An environment variable is given its value for each suite: $env(name)
They are handy for storing configuration endpoints, shared test data, or environment-specific values.
They can be easily retrieved from the special values menu.
Report’s panel
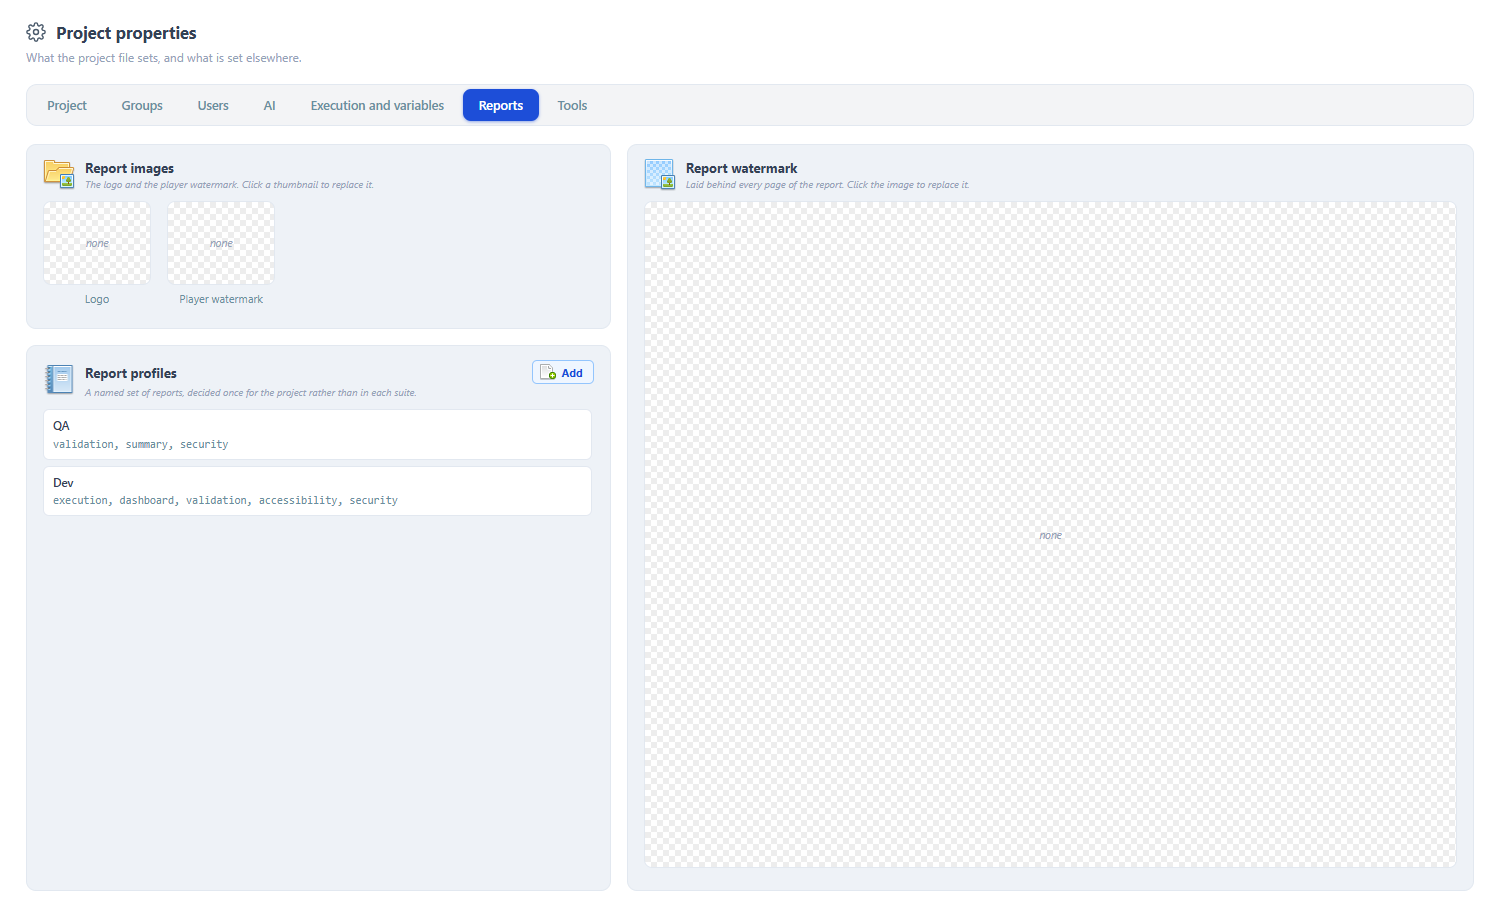
From this panel you can customize your report by changing:
- the logo
- the player watermark
- the report watermark
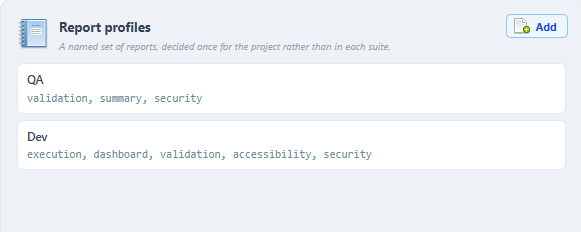
Report profiles
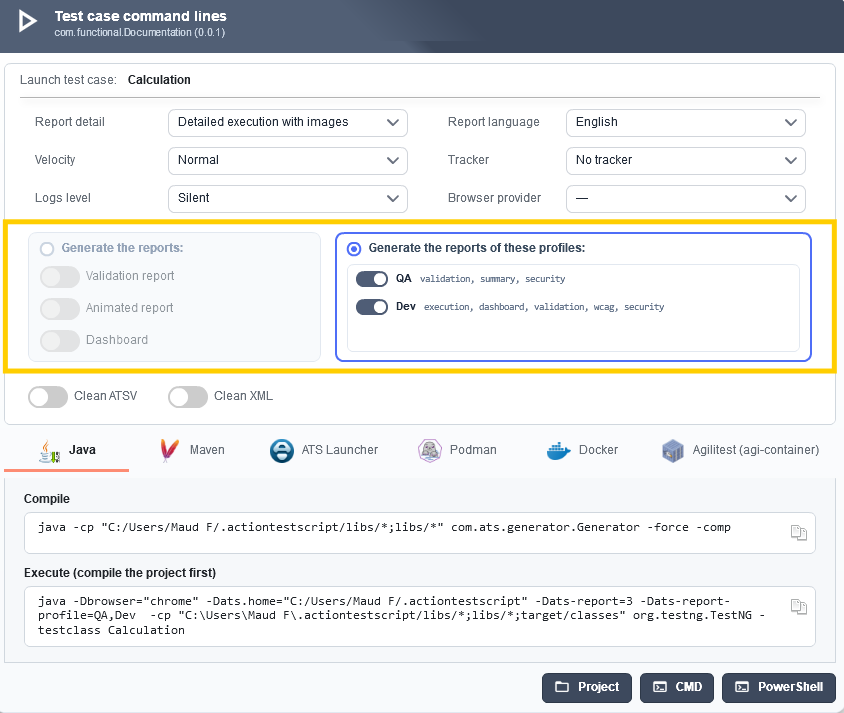
You can create profiles reports and select each report that will be displayed corresponding to profiles you have set up.
Create the profile by giving it a name and select the reports that can be displayed.
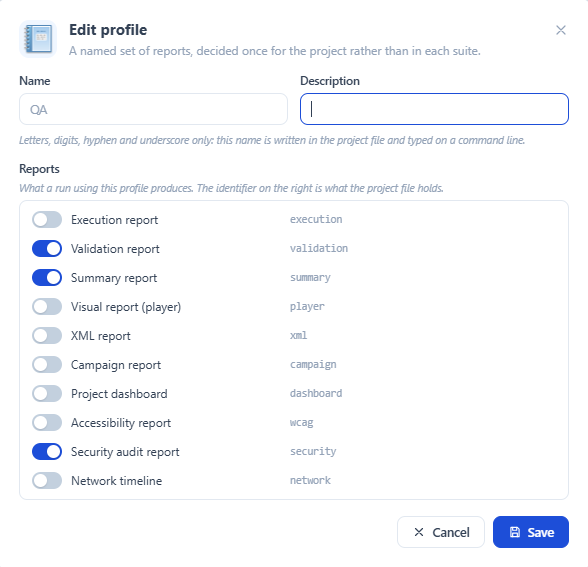
If you execute your test by using the command lines, you can select which reports you want to generate.
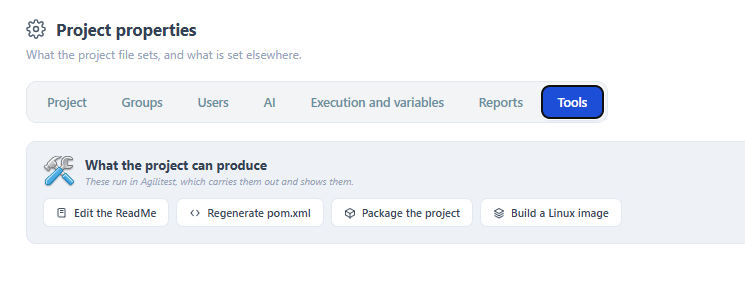
Tools